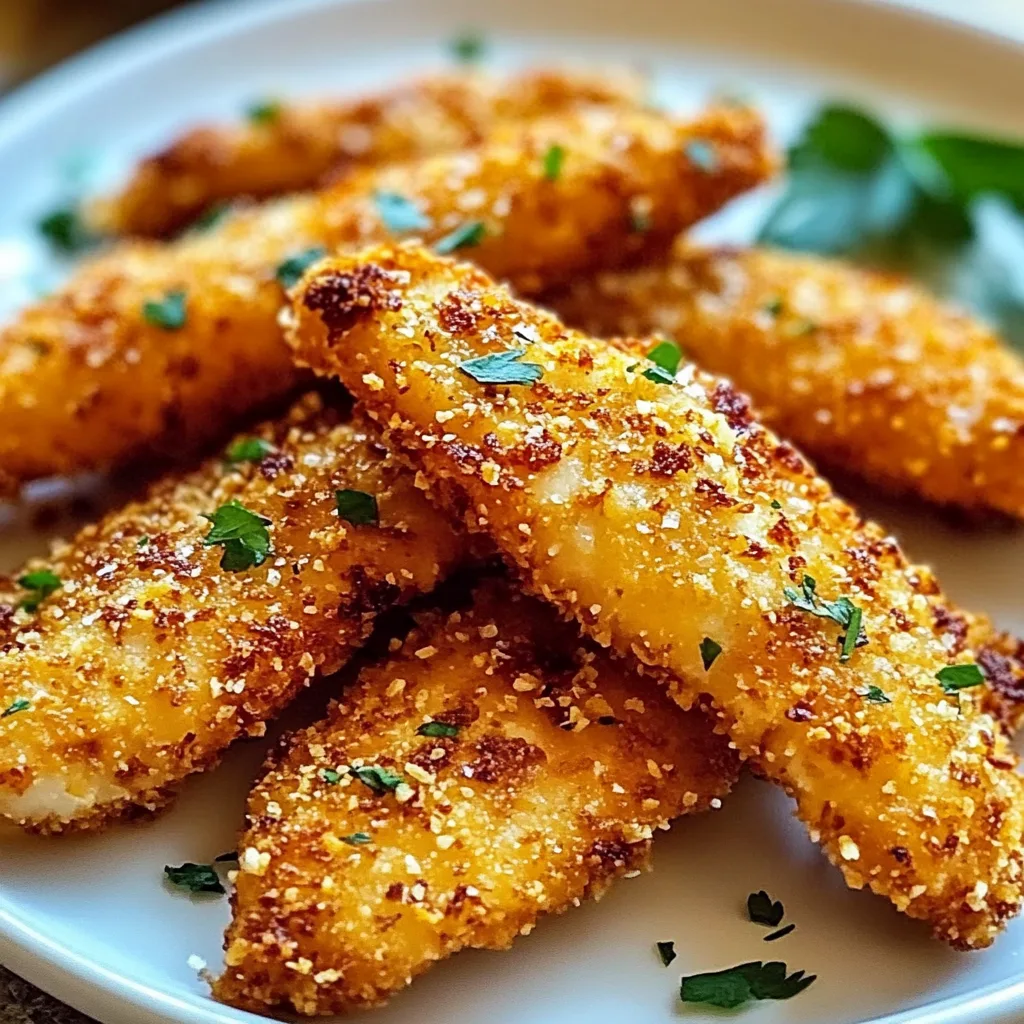
The first time I perfected these Crispy Homemade Baked Chicken Tenders, my kitchen transformed into a sanctuary of culinary magic. The sizzle of seasoned chicken, the golden-brown crunch of the perfectly baked coating, and the anticipation of that first bite – it was a moment of pure gastronomic revelation. This isn’t just another chicken recipe; it’s a reinvention of a classic that proves healthy eating can be absolutely delicious and incredibly satisfying.
Why You’ll Love These Crispy Homemade Baked Chicken Tenders
Let’s be honest – finding a chicken tender recipe that’s both healthy and mouth-wateringly delicious seems impossible. But these Crispy Homemade Baked Chicken Tenders? They’re your ticket to guilt-free comfort food. I’ll never forget the first time I served these to my family – skeptical faces quickly melted into expressions of pure delight. Here’s why this recipe is a game-changer:
- Healthier Alternative: All the crunch, none of the deep-frying guilt
- Kid-Approved: Even picky eaters can’t resist these tenders
- Meal Prep Champion: Perfect for batch cooking and freezing
- Endlessly Customizable: Swap seasonings to match any craving
- Nutritionally Balanced: Lean protein meets crunchy satisfaction

Ingredients You’ll Need
For the Chicken Tenders
- 1.5 lbs chicken tenderloins
- 1 cup panko breadcrumbs
- 1/2 cup whole wheat breadcrumbs
- 1/4 cup grated Parmesan cheese
- 2 large eggs
- 2 tbsp olive oil
- 1 tsp garlic powder
- 1 tsp paprika
- 1/2 tsp dried oregano
- Salt and pepper to taste
Dipping Sauce Options
- Honey mustard
- Sriracha mayo
- Ranch
- Barbecue sauce
Pro Tip: Use fresh chicken tenderloins for the best texture and flavor. The quality of your ingredients makes all the difference!
How to Make Crispy Homemade Baked Chicken Tenders
- Prepare the Coating Mix panko and whole wheat breadcrumbs in a shallow dish. Add Parmesan, garlic powder, paprika, oregano, salt, and pepper. This layer is crucial for achieving that irresistible crunch.
- Create the Egg Wash Whisk eggs in a separate bowl. The egg wash helps the breadcrumb mixture stick to the chicken, creating a perfect crispy coating.
- Bread the Chicken Pat chicken tenders dry with paper towels. Dip each tender in egg wash, then coat thoroughly in the breadcrumb mixture. Press gently to ensure maximum crispiness.
- Bake to Perfection Drizzle baking sheet with olive oil. Arrange chicken tenders with space between them. Bake at 400°F for 15-18 minutes, flipping halfway through. Look for a golden-brown color and internal temperature of 165°F.
- Rest and Serve Let tenders rest for 5 minutes after baking. This helps maintain the crispy exterior and juicy interior. Serve with your favorite dipping sauce!
Delicious Variations
- Spicy Kick: Add cayenne pepper to the breadcrumb mixture
- Herb Garden: Mix in fresh chopped herbs like basil or thyme
- Gluten-Free Option: Use almond flour and gluten-free breadcrumbs
- Parmesan Explosion: Double the Parmesan in the coating
- Asian-Inspired: Add sesame seeds and use soy sauce in the egg wash
- Low-Carb: Replace breadcrumbs with crushed pork rinds

Crispy Homemade Baked Chicken Tenders
Equipment
- Baking sheet
Ingredients
For the Chicken Tenders:
- 1.5 lbs chicken tenderloins
- 1 cup panko breadcrumbs
- 1/2 cup whole wheat breadcrumbs
- 1/4 cup grated Parmesan cheese
- 2 large eggs
- 2 tbsp olive oil
- 1 tsp garlic powder
- 1 tsp paprika
- 1/2 tsp dried oregano
- Salt and pepper to taste
Dipping Sauce Options:
- Honey mustard
- Sriracha mayo
- Ranch
- Barbecue sauce
Instructions
Prepare the Coating:
- In a shallow dish, mix together panko breadcrumbs, whole wheat breadcrumbs, Parmesan cheese, garlic powder, paprika, oregano, salt, and pepper.
Create the Egg Wash:
- In a separate bowl, whisk the eggs until fully combined.
Bread the Chicken:
- Pat the chicken tenderloins dry with paper towels.
- Dip each tender into the egg wash, ensuring it’s evenly coated.
- Then dredge the chicken in the breadcrumb mixture, pressing gently to coat thoroughly.
Bake to Perfection:
- Preheat the oven to 400°F (200°C).
- Drizzle a baking sheet with olive oil and arrange the chicken tenders in a single layer, leaving space between each piece.
- Bake for 15-18 minutes, flipping halfway through.
- Ensure the internal temperature reaches 165°F for perfectly cooked tenders.
Rest and Serve:
- Let the tenders rest for 5 minutes.
- Serve with your favorite dipping sauce and enjoy!
Notes
- For Extra Crunch: Broil the tenders for an additional 1-2 minutes at the end for extra crispiness.
- Meal Prep Tip: Make a large batch, store in the freezer, and reheat in the oven or air fryer for a quick meal.
- Kid-Friendly: Serve with classic ketchup or honey mustard.
- Serving Suggestion: Pair with a fresh green salad or roasted vegetables for a balanced meal.
Nutrition
Frequently Asked Questions
Q: How do I keep the chicken tenders crispy? A: Use a wire rack when baking and avoid overcrowding the baking sheet.
Q: Can I make these ahead of time? A: Prepare and bread chicken, then refrigerate for up to 24 hours before baking.
Q: How do I store and reheat leftovers? A: Refrigerate for up to 3 days. Reheat in oven at 350°F to maintain crispiness.
Q: Are these freezer-friendly? A: Freeze unbaked tenders with parchment between layers for up to 3 months.
Q: What are the best side dishes? A: Try sweet potato fries, coleslaw, or a fresh garden salad.
Final Thoughts
Every time I make these Crispy Homemade Baked Chicken Tenders, I’m reminded that cooking is an art of love, creativity, and nourishment. This recipe is more than just food – it’s a celebration of flavor, health, and the joy of bringing people together.
So roll up your sleeves, gather your ingredients, and get ready to create a meal that will become a family favorite. Your kitchen is about to become the most popular restaurant in town!

