
There’s something truly magical about the moment homemade pizza dough hits a hot oven – that distinctive yeasty aroma filling your kitchen, promising the perfect balance of crispy exterior and chewy interior that only comes from making dough from scratch. After years of experimenting, I’ve perfected this homemade pizza dough recipe that delivers restaurant-quality results with surprisingly little effort. What makes this dough special is its versatility and forgiving nature; it can be stretched thin for a crackling crust or left thicker for that satisfying chew, all while developing those coveted air pockets that capture sauce and melted cheese. The intoxicating smell of this dough baking – slightly sweet, yeasty, and somehow comforting – signals that something extraordinary is about to happen in your kitchen. Keep reading to discover how you can create pizza that will make you question why you ever ordered delivery.
Why You’ll Love This Recipe
Homemade pizza dough solves the perpetual disappointment of takeout pizza that arrives soggy, overpriced, or laden with mystery ingredients. I remember the first time I served pizza made with this dough to my skeptical father-in-law (a New York native with strong opinions about pizza). He took one bite, raised his eyebrows in surprise, and declared it better than his neighborhood pizzeria – a compliment I still treasure years later!
Unlike traditional methods that require precise technique, this homemade pizza dough recipe is wonderfully forgiving. Whether you’re a perfectionist who weighs ingredients to the gram or someone who prefers to eyeball measurements, this dough accommodates your style. It’s equally delicious as a traditional Margherita, loaded with toppings, or even as a dessert base.
Perhaps most impressively, this dough can fit your schedule rather than the other way around. Make it the same day for dinner or prepare it in advance for a stress-free meal tomorrow – the choice is yours. Now, let’s dive into exactly what you’ll need to create this game-changing homemade pizza dough.
Ingredients
The Basics
- 3½ cups (500g) all-purpose flour: The foundation of our homemade pizza dough, providing structure and chew. For a more authentic Italian taste, you can substitute 00 flour, which has a finer grind. Bread flour works too and will give you an even chewier crust.
- 1 teaspoon granulated sugar: Feeds the yeast and contributes to browning. Honey makes a nice substitution with a subtle flavor enhancement.
- 2¼ teaspoons (1 packet) active dry yeast: The magic ingredient that creates those beautiful air bubbles. Instant yeast can be used as a 1:1 substitution without proofing.
- 2 teaspoons kosher salt: Essential for flavor development. Fine sea salt works well too, but reduce to 1½ teaspoons.
- 1¼ cups warm water (105°F-110°F): The perfect temperature activates yeast without killing it. Too cool and your dough will rise slowly; too hot and you’ll kill the yeast.
- 2 tablespoons olive oil, plus more for coating: Adds tenderness and flavor to the dough. Use a good quality extra virgin olive oil for the best flavor impact.
Optional Flavor Enhancers
- 1 tablespoon dried herbs (oregano, basil, or an Italian blend): For an herbed dough that adds another layer of flavor.
- 2 cloves minced garlic: Creates an aromatic garlic bread quality to your crust.
- ¼ teaspoon red pepper flakes: Adds a gentle heat throughout the dough.
For Dietary Restrictions
- Gluten-free alternative: Replace all-purpose flour with a 1:1 gluten-free flour blend that contains xanthan gum. The texture will be slightly different, but still delicious.
- Vegan option: This dough is naturally vegan as written – no substitutions needed!
How to Make Homemade Pizza Dough
Step 1: Activate the Yeast
- In a large bowl or the bowl of your stand mixer, combine the warm water (105°F-110°F) and sugar, stirring until dissolved.
- Sprinkle the yeast over the water and let it sit undisturbed for 5-10 minutes. You’ll know it’s active when it becomes foamy and smells distinctly yeasty – this visual cue is your first indication that you’re on the right path to perfect dough.
- Add the olive oil to the yeast mixture and stir to combine.
Step 2: Form the Dough
- If using a stand mixer: Add the flour and salt to the bowl with the yeast mixture. Using the dough hook attachment, mix on low speed until the dough comes together, about 1-2 minutes.
- If mixing by hand: Add 3 cups of the flour and the salt to the bowl with the yeast mixture. Stir with a wooden spoon until a shaggy dough forms.
- Turn the dough out onto a floured surface and knead for 7-10 minutes, gradually adding the remaining flour as needed. The dough should become smooth and elastic – when you press it with your finger, it should slowly spring back.
- Proper kneading is crucial – think of it as folding the dough over itself, pushing away with the heel of your hand, rotating a quarter turn, and repeating. This develops the gluten that creates that perfect chewy texture.
Step 3: First Rise
- Lightly oil a large bowl with olive oil. Place the dough in the bowl, turning to coat all sides with oil.
- Cover the bowl with plastic wrap or a damp kitchen towel and place in a warm, draft-free area for 60-90 minutes, or until the dough has doubled in size. An ideal spot is inside your oven with just the light turned on.
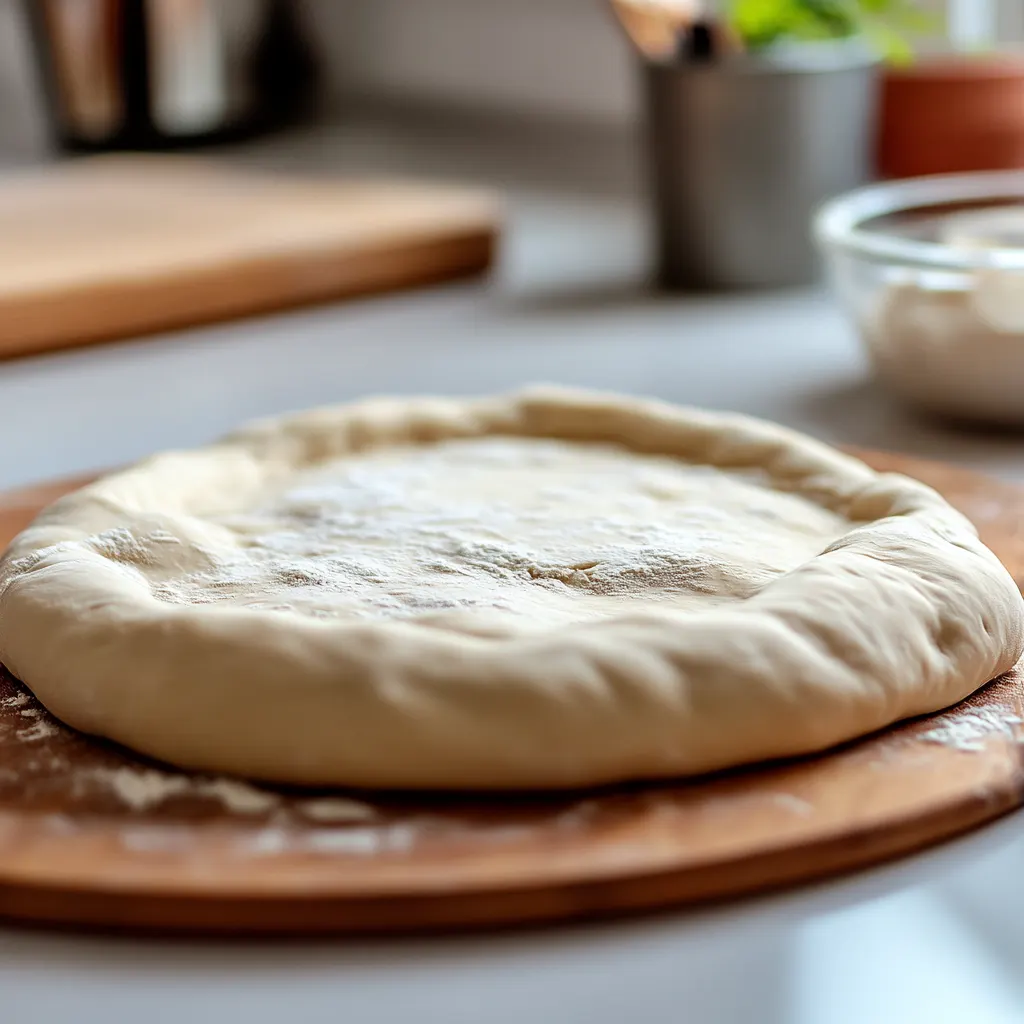
- The dough is ready when it has doubled and looks puffy. If you gently poke it with your finger and the indentation remains, it’s ready for the next step.
Step 4: Shape and Second Rise (Optional but Recommended)
- After the first rise, punch down the dough to release excess air bubbles. The sound and feel of the air escaping is surprisingly satisfying!
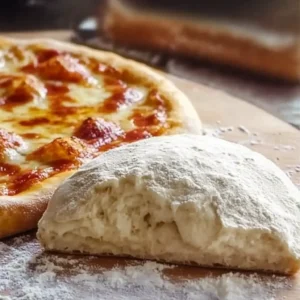
- Divide the dough into two equal portions for two medium pizzas, or keep it whole for one large pizza.
- Form each portion into a tight ball by tucking the edges underneath and pinching them together.
- Place the dough ball(s) on a lightly floured surface, cover with a kitchen towel, and let rest for 15-30 minutes. This short second rise makes the dough more pliable and easier to shape.
Step 5: Shape and Bake
- Preheat your oven to its highest setting (usually 500°F-550°F) with a pizza stone or inverted baking sheet inside for at least 30 minutes.
- On a lightly floured surface, use your hands to gently stretch the dough into a 12-14 inch circle, rotating it as you work. The center should be slightly thinner than the edges.
- For a traditional method, place the dough on your knuckles and rotate it, allowing gravity to stretch it naturally.
- Transfer the shaped dough to a piece of parchment paper or a cornmeal-dusted pizza peel.
- Add your favorite toppings, being careful not to overload the pizza, which can make the crust soggy.
- Slide the pizza onto the preheated stone or baking sheet and bake for 8-12 minutes, or until the crust is golden brown and the cheese is bubbly. The texture creates perfect pockets to catch the flavorful ingredients.
Variations
Whole Wheat Pizza Dough
Replace half of the all-purpose flour with whole wheat flour for a nutty, more robust flavor and added nutrition. You may need to add 1-2 tablespoons of additional water as whole wheat flour absorbs more moisture.
Sourdough Pizza Crust
Substitute 1 cup of active sourdough starter for the yeast and reduce the flour by ½ cup and the water by ½ cup. The flavor will be more complex with a pleasant tanginess, and the longer fermentation improves digestibility.
Beer Pizza Dough
Replace half the water with your favorite beer for an extra depth of flavor. Different beers will impart different notes – try a light lager for subtle flavor or a robust ale for more pronounced character.
Herb and Garlic Dough
Add 2 tablespoons of fresh chopped herbs (rosemary, basil, oregano), 2 minced garlic cloves, and 1 teaspoon of freshly ground black pepper to the flour before mixing for an aromatic and flavorful dough.
Honey Whole Grain Dough
Substitute honey for the sugar, use half whole grain flour (a mix of whole wheat and rye works beautifully), and add 1 tablespoon of olive oil extra. This creates a slightly sweet, complex crust that pairs wonderfully with stronger toppings like gorgonzola and caramelized onions.
Cornmeal Crust
Replace ½ cup of flour with fine cornmeal for a crust with additional texture and a subtle corn flavor. This variation works particularly well for deep dish styles or pizzas with barbecue-inspired toppings.
Homemade Pizza Dough
Equipment
- Large mixing bowl
Ingredients
- 3½ cups 500g all-purpose flour (or substitute 00 flour or bread flour)
- 1 teaspoon granulated sugar or honey
- 2¼ teaspoons 1 packet active dry yeast (or instant yeast)
- 2 teaspoons kosher salt or 1½ teaspoons sea salt
- 1¼ cups warm water 105°F-110°F
- 2 tablespoons olive oil plus extra for coating
Optional Add-Ins:
- 1 tablespoon dried herbs oregano, basil, Italian blend
- 2 cloves minced garlic
- ¼ teaspoon red pepper flakes
Instructions
Activate the Yeast:
- Combine warm water and sugar in a large bowl. Stir until dissolved.
- Sprinkle yeast over the water and let sit for 5-10 minutes until foamy.
- Stir in the olive oil.
Form the Dough:
- Add flour and salt. Mix with a dough hook on low speed for 1-2 minutes, or stir with a wooden spoon until shaggy.
- Knead on a floured surface for 7-10 minutes until smooth and elastic.
First Rise:
- Place dough in an oiled bowl, turning to coat.
- Cover with plastic wrap or a towel and let rise in a warm spot for 60-90 minutes until doubled in size.
- Shape and Second Rise (Optional):
- Punch down dough and divide into two balls.
- Let rest for 15-30 minutes, covered.
Bake:
- Preheat oven to 500°F-550°F with a pizza stone or inverted baking sheet inside.
- Stretch dough into a 12-14 inch circle and transfer to parchment paper.
- Add toppings and bake for 8-12 minutes until golden and bubbly.
Notes
- Make Ahead: Store dough in the fridge for up to 3 days or freeze for 3 months.
- Flavor Variations: Try adding herbs, garlic, or red pepper flakes.
- Gluten-Free: Use a 1:1 gluten-free flour blend with xanthan gum.
- Sourdough: Swap 1 cup of active sourdough starter for the yeast, adjusting water and flour accordingly.
Nutrition
Frequently Asked Questions
Can I make homemade pizza dough ahead of time?
Absolutely! After the first rise, punch down the dough, divide it if desired, and place it in an oiled zip-top bag. Refrigerate for up to 3 days – the flavor actually improves with this slow fermentation. You can also freeze it for up to 3 months. Thaw overnight in the refrigerator before using, then allow it to come to room temperature for about 30 minutes before shaping.
Why didn’t my dough rise properly?
There are a few common culprits: Your yeast might be expired, the water might have been too hot (killing the yeast) or too cold (not activating it), or the environment might have been too cool. For the perfect rise, use fresh yeast, water between 105°F-110°F, and a warm, draft-free location. If your kitchen is cold, create a warm spot by placing the dough in your oven with just the light on.
Can I make homemade pizza dough without a stand mixer?
Definitely! While a stand mixer makes the process easier, hand-kneading produces excellent results and can be quite therapeutic. Expect to knead for about 10 minutes until the dough becomes smooth and elastic. It’s a wonderful way to connect with the traditional process of breadmaking.
How can I get a crispier crust with my homemade pizza dough?
There are several tricks: Preheat your oven (with a pizza stone or steel if you have one) for at least 30 minutes at the highest temperature (usually 500°F-550°F). Roll or stretch the dough thinner in the center. Don’t overload with toppings, especially wet ones. For extra crispiness, brush the outer edge with olive oil before baking.
Can I use this homemade pizza dough for things other than pizza?
This versatile dough works beautifully for many applications! Try it as focaccia (press into an oiled sheet pan, dimple the surface, sprinkle with herbs and salt), garlic knots, calzones, or even grilled flatbreads. Simply adjust the cooking time according to the size and thickness of what you’re making.
How do I know when my homemade pizza dough is properly kneaded?
Well-kneaded dough will be smooth, elastic, and slightly tacky but not sticky. The “windowpane test” is the most reliable method: take a small piece of dough and slowly stretch it with your fingers. If it stretches thin enough to become translucent without tearing (like a windowpane), your dough is ready. If it tears easily, continue kneading for a few more minutes.
Closing Thoughts
The first time I served pizza made with this homemade pizza dough at a family gathering, my uncle – who had been silent throughout the meal – finally spoke up. “This,” he said, gently holding up his last bite, “reminds me of the pizza my mother made when I was a boy in Naples.” In that moment, I understood that good food isn’t just about flavor – it’s about creating connections across generations and cultures.
The aroma will transform your kitchen into something special – a place where tradition meets innovation, where measuring cups meet intuition. This homemade pizza dough stands at that perfect intersection, honoring the centuries-old techniques of Italian pizzaiolos while adapting to our modern kitchens and busy lives.
I hope you’ll take this recipe and make it your own, perhaps incorporating one of the variations or creating something entirely new. Whether you’re cooking for yourself on a quiet weeknight or gathering friends for a build-your-own pizza party, there’s something undeniably magical about rolling up your sleeves, dusting your hands with flour, and creating something from scratch that brings pure joy with every bite. Enjoy your journey with this homemade pizza dough – the possibilities are as endless as your imagination!