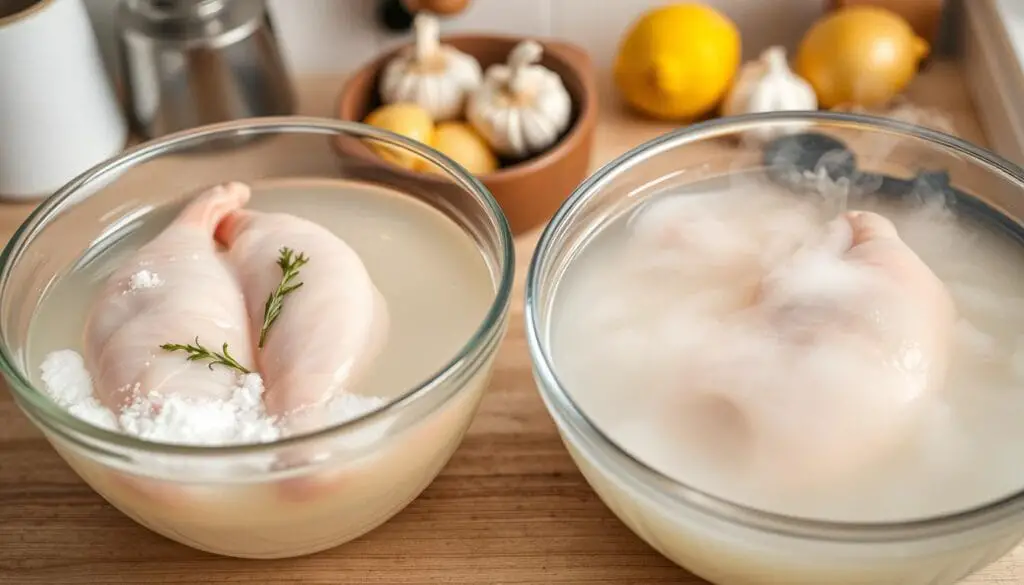
I’ve always sought the juiciest, most tender chicken breasts as a home cook. Then, I found the magic of bringing. It moistens chicken, boosts flavours, and is a tender delight. Brining can change everything if you’ve faced dry, bland, or tough chicken.
How to Brine Chicken Breast

Key Takeaways
- Brining chicken breasts enhances moisture, flavour, and tenderness.
- A standard brine solution consists of 4 cups of cold water and 4 1/2 tablespoons of kosher salt.
- The optimal brining time for chicken breasts is between 30 minutes to 1 hour.
- Bringing with cold water produces more tender and juicy chicken than warm water.
- Properly brined chicken breasts can be stored in the refrigerator for up to 3 days or frozen for up to 6 months.
Understanding the Science Behind Brining Chicken Breasts
Bringing turns regular chicken breasts into juicy, flavorful dishes. But how does it work? It’s all about osmosis and salt’s effect on chicken proteins.
How Salt Penetrates the Meat
When chicken is in a saltwater brine, salt doesn’t just stay on the surface. It slowly moves into the meat. This means the chicken gets seasoned from the inside, making every bite flavorful.
The Role of Osmosis in Brining
Osmosis is key in bringing. Salt dissolves in water, making ions outside the chicken’s fibres. This pulls water into the meat, making it plump and moist.
Benefits of Moisture Retention
Brining’s magic is in keeping chicken moist. It changes proteins and helps water stay in, making chicken juicy and tender. Even if you overcook it a bit, bringing it helps.
So, when you brine chicken, you’re not just adding flavour. You’re using science to make it perfect and juicy. The benefits of bringing chicken breasts are well worth the effort!
“Brining is the secret to consistently tender, juicy chicken breasts. The science behind it is fascinating – and the results are simply delicious.”
Essential Ingredients for the Perfect Chicken Brine
Making the perfect chicken brine is about mixing the right ingredients. It starts with water, salt, and sugar. But adding herbs and spices can make it even better.
The basic ratio for a chicken brine is 20 parts water to 1 part salt. For a 4-cup brine, use ½ cup of kosher salt and ¼ cup of granulated sugar. This mix keeps the chicken moist and adds a savoury taste.
To make your brine even better, try adding:
- Garlic cloves (smashed or minced)
- Peppercorns (whole or cracked)
- Fresh herbs like rosemary, thyme, sage, or bay leaves
- Citrus zest (lemon, orange, or lime)
- Spices such as coriander, fennel, or juniper berries
Experimenting with flavours lets you create a chicken brine recipe you’ll love. Let the chicken soak in the brine for at least 2 hours, up to 24 hours, for the best taste.
“The secret to juicy, flavorful chicken breasts lies in the brine. It’s a simple yet powerful technique that transforms even the blandest cuts into something extraordinary.”
Remember, how to brine chicken right is about the right mix and soaking time. With some trial and error, you’ll get moist and tasty chicken every time.
How to Brine Chicken Breast: Step-by-Step Guide
Brining chicken breasts makes them juicy, tender, and full of flavour. Here’s a simple guide to brine chicken breasts like a pro.
Preparing the Brine Solution
First, mix 4 cups of cold water with 33 grams of salt in a large bowl. The salt amount can vary by brand. For example, Diamond Kosher salt needs 1/4 cup, while Morton Kosher salt requires 2 tablespoons. Fine sea salt demands 1 1/2 tablespoons. Stir until the salt is fully dissolved.
Submerging the Chicken
Then, add your chicken breasts to the brine solution. Make sure they are fully covered. Use a plate or weight to keep them underwater.
Timing and Temperature Control
The brining time is key. Chicken breasts should not brine for more than 30 minutes. This prevents them from becoming too salty. For longer brining, up to 2 hours, refrigerate the chicken.
After brining, remove the chicken breasts from the solution. Discard the brine and pat the chicken dry with paper towels. Don’t rinse the chicken to avoid spreading bacteria.
“The brined chicken breasts were the juiciest and most flavorful I’ve ever had. I’ll definitely be using this method from now on.” – Jon
By following these steps, you’ll make perfect brined chicken breasts. Enjoy the delicious results!
Cold vs Warm Brine: Which Works Better?
Bringing chicken breasts with cold tap water is better than warm water. Studies prove this. Cold water makes the chicken more tender and juicy.
Chicken brined in cold water stays moist and tender. The cold helps the brine soak into the meat. This makes the chicken more flavorful and juicy.
Warm water, on the other hand, can make the chicken dry. It stops the brine from getting into the meat. This leads to a less juicy chicken.
To get the best results, use cold tap water. This lets the salt and flavours soak into the chicken. This makes the chicken juicier and more flavorful when cooked.
“Brining, when done correctly, should not leave a salty taste on the meat. The recipe provided includes ingredients like 3 medium limes, 3 tablespoons fresh cilantro, 2 tablespoons of kosher salt, and 1 tablespoon of sugar.”
Brining chicken breasts with cold water improves their taste and texture. It ensures your chicken dishes are always delicious and satisfying.

Optimal Brining Times for Chicken Breasts
Brining chicken breasts can take anywhere from 30 minutes to 1 hour. The time you choose affects the flavour and texture you want.
30-Minute Quick Brine
A 30-minute brine adds a light salt flavour, making the chicken tender. It’s great if you’re short on time or want a gentle seasoning.
1-Hour Standard Brine
Brining for about 1 hour makes the chicken perfectly seasoned, juicy, and tender. This time allows the brine to enhance the chicken’s moisture and texture fully.
Maximum Brining Duration
Don’t brine chicken breasts for more than 2 hours. Longer times can make the meat spongy and too salty. The best time is around 2 hours for the best results.
| Brining Time | Chicken Breast Texture and Flavor |
|---|---|
| 30 minutes | Lightly salted, slightly improved tenderness |
| 1 hour | Perfectly seasoned, juicy, and tender |
| 2 hours | Maximum recommended duration for optimal results |
| 4+ hours | Overly salty and spongy texture |
Always rinse the chicken after brining to remove excess salt. This keeps the dish balanced and flavorful without being too salty.
Adding Flavors to Your Brine
Make your chicken breast marinade better by adding different flavours to your brine. You can mix up the basic salt and sugar with other ingredients. This way, you can make your brine fit your taste and meal plans.
Think about what flavours go well with chicken. Here are some good choices:
- Garlic granules or minced garlic cloves
- Whole peppercorns or ground black pepper
- Fresh herbs like thyme, rosemary, sage, or oregano
- Citrus fruits such as lemon or orange slices or zest
For a quick 60-minute brine, add 1 tablespoon of garlic granules. Blend onion, garlic, and herbs in the brine for more flavour. This makes the marinade even more flavorful and fragrant.
The longer the chicken sits in the brine, the more flavor it absorbs.
Try mixing different herbs and spices for unique tastes. For example, use rosemary and oregano for an Italian flavour. Or, add lemon and orange for a citrusy taste. Don’t add too much of one thing, as it can hide the chicken’s natural taste.

Adding aromatic ingredients to your brine makes your chicken breasts moist and flavorful. It’s fun to try new brine recipes and find your favourite flavours.
Common Brining Mistakes to Avoid
Brining chicken breasts is a great way to make them juicy and flavorful. But there are a few common mistakes to watch out for. Avoid these to get the best results.
Over-salting Issues
One big mistake is using the wrong amount of salt. Use kosher salt instead of table salt. It has bigger crystals that dissolve better. Follow the rule of 1 cup of kosher salt per 1 gallon of water to prevent too much salt.
Temperature Control Problems
Keeping the right temperature is key when bringing chicken. Leaving the brine at room temperature for more than 30 minutes can be dangerous. Always keep the brine and chicken in the fridge during brining.
Timing Errors
Brining for too long can make chicken mushy and too salty. Aim for 30 minutes to 2.5 hours, depending on the chicken size. Brining for more than 4 hours can overcook the chicken.
By avoiding these common mistakes, you’ll ensure your how-to brine and brining chicken breasts are always juicy and flavorful.
Storage and Make-Ahead Tips
Brined chicken is super versatile and can be made ahead to save time. You can store it in the fridge for up to 3 days before cooking. If you need to keep it longer, pat it dry and freeze it in airtight bags. This way, it can stay good for 2 months in the freezer.
Make the brine solution ahead and keep it in the fridge for easy prep. Just remember, never use brine that’s had raw chicken in it. This can be dangerous and ruin your meal. With some planning, you can always have delicious brined chicken ready.
Bringing chicken breasts is great for any meal, whether it’s a quick dinner or a big event. These tips make it easy to enjoy the tender and flavorful results of brining. You’ll make your meals even better by learning how to brine chicken.

FAQ
What is brining, and how does it affect chicken breasts?
Brining is a method where chicken breasts are soaked in a saltwater mix. This makes the meat juicier, tenderer, and tastier. It adds moisture and flavour from the inside out.
What is the standard brine recipe for chicken breasts?
The basic brine recipe uses 4 cups of cold water and 6 tablespoons of Diamond Crystal kosher salt. Or, you can use 4 1/2 tablespoons of Morton’s kosher salt or 3 tablespoons of fine salt.
How does brining work to improve chicken breasts?
Brining uses osmosis to get salt into the meat. This changes the proteins, making the chicken hold more moisture. It also makes the meat tender and flavorful.
What are the benefits of bringing chicken breasts?
Brining keeps chicken breasts moist. This means they stay juicy, even if they’re cooked a bit too long.
What additional ingredients can be added to the brine for more flavour?
You can add garlic granules, peppercorns, or crushed garlic to the brine. Rosemary, thyme, sage sprigs, and bay leaves also work well. Try a food processor brine with onion, garlic, and fresh herbs for a richer flavour.
How long should chicken breasts be brined?
Brine chicken breasts for 30 minutes to 1 hour. A 30-minute brine adds a light salt flavour and a bit of tenderness. A 1-hour brine makes the chicken perfectly seasoned and tender. Brining for 2 hours or more can make the chicken too salty. Brining for more than 4 hours can make it spongy.
What are some common mistakes to avoid when bringing chicken breasts?
Don’t over-salt by following the right salt-to-water ratio. Avoid bringing it too long. Keep the brine cold to prevent bacteria growth. Brining for too long can make the chicken too salty and spongy. Don’t rinse the chicken to avoid spreading bacteria. Instead, pat it dry with paper towels.
How can brine chicken be stored and prepared ahead of time?
Brined chicken can be stored in the fridge for up to 3 days or frozen for 2 months. To freeze, pat dry and use freezer-safe bags. Brine can be made ahead and stored in the fridge. Never reuse brine that’s had raw chicken to avoid contamination.
Source Links
- https://newsc.stellaculinary.com/cooking-videos/food-science-101/fs-002-science-behind-brining-four-part-video-lecture – FS 002| The Science Behind Brining – Four Part Video Lecture


2 thoughts on “How to Brine Chicken Breast for Perfect Results”
Comments are closed.