
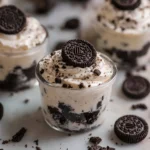
The moment I first created these No-Bake Oreo Cheesecake Cups, I knew I had stumbled upon something special. The contrast between the crunchy Oreo crust and the silky-smooth cheesecake filling creates a texture that’s nothing short of magical. What makes these No-Bake Oreo Cheesecake Cups truly exceptional is how they deliver all the indulgent flavor of a traditional cheesecake without the stress of water baths or worrying about cracks. The sweet vanilla aroma mingling with the chocolate cookie scent will have everyone gathering in your kitchen, wondering what delicious creation awaits them. Keep reading to discover how these individual dessert cups can transform your next gathering from ordinary to extraordinary.
Why You’ll Love This No-Bake Oreo Cheesecake Cups Recipe
If you’ve ever hesitated to make cheesecake because of the intimidating baking process, these No-Bake Oreo Cheesecake Cups solve that problem beautifully. There’s no need to worry about water baths, temperature control, or those dreaded cracks that often plague traditional cheesecakes.
I first brought these to my sister’s birthday gathering after a particularly hectic day at work. With only an hour to prepare something impressive, these cups saved the celebration. The look on everyone’s faces as they took their first bite – eyes closed, quiet murmurs of appreciation – told me everything I needed to know.
What’s particularly wonderful about these No-Bake Oreo Cheesecake Cups is their versatility. They work beautifully for casual family desserts but are equally at home at more formal gatherings. You can prepare them in elegant glassware for a dinner party or in plastic cups for a children’s birthday celebration. The recipe easily scales up for larger gatherings or down for a romantic dessert for two.
Now, let’s dive into what you’ll need to create these creamy, dreamy treats in your own kitchen.
Ingredients for No-Bake Oreo Cheesecake Cups
For the Crust:
- 24 Oreo cookies – These form the foundation of our dessert. The classic Oreos provide the perfect balance of chocolate and cream. Double Stuf Oreos work too, though they’ll create a slightly sweeter crust. For a gluten-free option, use gluten-free chocolate sandwich cookies.
- 4 tablespoons unsalted butter, melted – Butter binds the crushed cookies together to form our crust. Use unsalted to control the salt content, but if you only have salted butter, simply omit any additional salt in the recipe.
For the Cheesecake Filling:
- 16 ounces cream cheese, softened – This is the star of our cheesecake. Full-fat cream cheese yields the richest, creamiest texture, but you can use reduced-fat if preferred. Ensure it’s completely softened to room temperature to avoid lumps.
- 1 cup powdered sugar – Powdered sugar dissolves seamlessly into the filling, creating a smooth texture. Its fine consistency prevents the grittiness that can occur with granulated sugar.
- 1 teaspoon vanilla extract – Pure vanilla extract adds depth and warmth to the filling. For a twist, try vanilla bean paste to add those lovely specks of vanilla.
- 1 cup heavy whipping cream – This creates the light, airy texture that makes these cups so irresistible. The higher the fat content, the more stable your whipped cream will be.
- 12 Oreo cookies, coarsely chopped – These create delightful pockets of chocolate cookie goodness throughout the filling. Feel free to adjust the amount based on your preference for cookie chunks.
For the Topping:
- 1 cup heavy whipping cream – For a beautiful, cloud-like topping that balances the richness below.
- 2 tablespoons powdered sugar – Just enough sweetness to complement the filling without overwhelming it.
- 6 Oreo cookies, for garnish – These add visual appeal and a final hit of Oreo flavor. You can use whole cookies, halved, or crushed, depending on your presentation preference.
How to Make No-Bake Oreo Cheesecake Cups
Step 1: Prepare the Crust
- Place 24 Oreo cookies in a food processor and pulse until they form fine crumbs. If you don’t have a food processor, place the cookies in a sealed plastic bag and crush them with a rolling pin until finely ground.
- Transfer the cookie crumbs to a medium bowl and pour in the melted butter.
- Mix thoroughly until the crumbs are evenly moistened and resemble wet sand. When you squeeze a handful, it should hold together easily.
- Divide the mixture evenly among 8-10 serving cups or glasses, pressing down firmly to create a compact base. I find the bottom of a shot glass works perfectly for this.
- Place the cups in the refrigerator while you prepare the filling.
Step 2: Create the Cheesecake Filling
- In a large bowl, beat the softened cream cheese until smooth and creamy, about 2 minutes. Ensure there are no lumps – those little pockets of unmixed cream cheese can ruin the silky texture we’re aiming for.
- Gradually add the powdered sugar, mixing on low speed until incorporated, then increase to medium speed and beat until light and fluffy, about 1-2 minutes.
- Add the vanilla extract and mix until combined.
- In a separate bowl, whip the heavy cream until stiff peaks form. The cream should stand up straight when you lift the beaters.
- Gently fold the whipped cream into the cream cheese mixture using a rubber spatula. Use a light hand and a figure-eight motion to maintain as much air as possible in the mixture.
- Once the mixture is uniform with no streaks of whipped cream visible, gently fold in the chopped Oreo cookies.
Step 3: Assemble the Cups
- Remove the prepared cups with the cookie bases from the refrigerator.
- Spoon or pipe the cheesecake filling over the crust in each cup, dividing it evenly. Leave about half an inch of space at the top for the whipped cream topping.
- Smooth the tops with the back of a spoon or an offset spatula.
- Return the cups to the refrigerator and chill for at least 4 hours, or preferably overnight. The filling should be firm enough to hold its shape when serving.
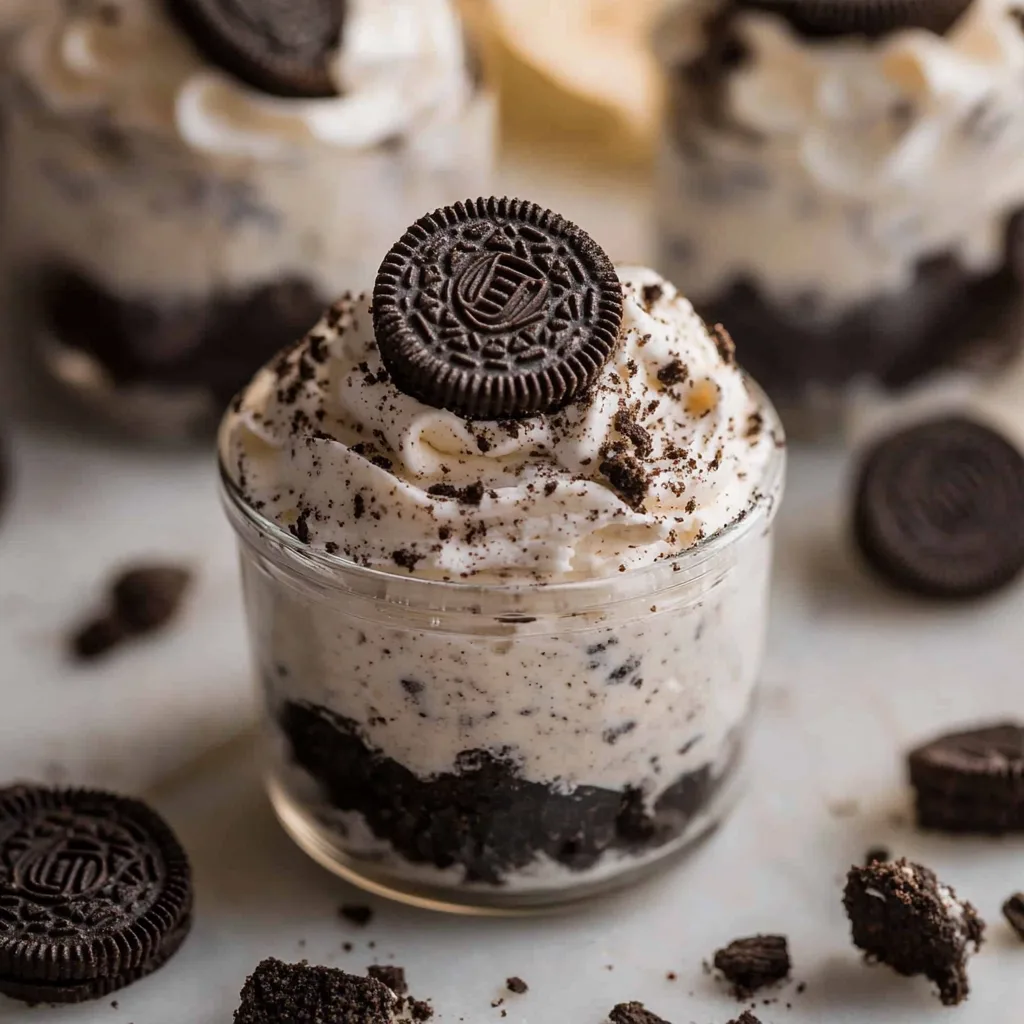
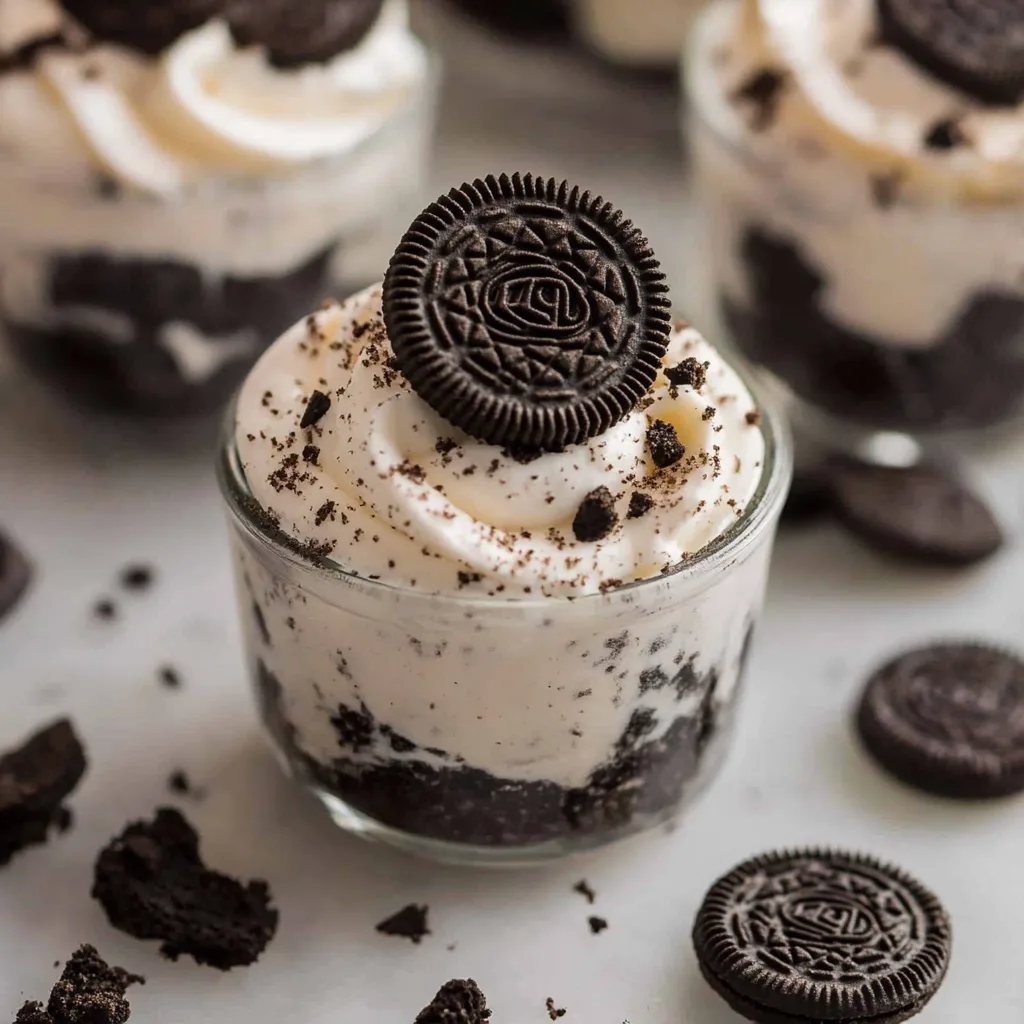
Step 4: Add the Finishing Touches
- Just before serving, prepare the whipped cream topping by beating the heavy cream with powdered sugar until soft peaks form.
- Top each cheesecake cup with a dollop of whipped cream.
- Garnish with Oreo cookies – you can use whole cookies, halved cookies, or crushed cookies, depending on your presentation preference.
- Serve immediately for the best texture contrast between the cookies and the creamy filling.
Creative Variations for No-Bake Oreo Cheesecake Cups

Mint Chocolate Dream
Transform these cups into a refreshing treat by using Mint Oreos for the crust and adding 1/4 teaspoon of peppermint extract to the filling. Top with a sprinkle of mini chocolate chips for extra chocolate goodness.
Peanut Butter Paradise
Replace regular Oreos with Peanut Butter Oreos and swirl 1/4 cup of creamy peanut butter into the cheesecake filling. Garnish with a drizzle of melted chocolate and crushed peanuts for a cup that will delight peanut butter lovers.
Berry Bliss
Add 1/4 cup of raspberry or strawberry preserves to the cheesecake filling and gently swirl it through. Top with fresh berries and a sprig of mint for a fruit-forward variation that’s perfect for summer gatherings.
Caramel Delight
Drizzle 2 tablespoons of caramel sauce over the crust before adding the filling. Mix another 2 tablespoons into the filling itself, then top the finished cups with a final caramel drizzle and a sprinkle of sea salt for a sweet-salty combination that’s impossible to resist.
Holiday Spice
During the holiday season, add 1/2 teaspoon of cinnamon and a pinch of nutmeg to the filling. Use Golden Oreos for the crust and top with a sprinkle of crushed gingersnap cookies for a festive spin on this classic dessert.
Chocolate Lover’s Dream
For the ultimate chocolate experience, add 2 tablespoons of cocoa powder to the filling and fold in 1/4 cup of mini chocolate chips along with the Oreo pieces. Top with chocolate shavings for a triple chocolate treat.

No-Bake Oreo Cheesecake Cups
Equipment
- Mixing bowls
Ingredients
For the Crust:
- 24 Oreo cookies
- 4 tbsp unsalted butter melted
For the Cheesecake Filling:
- 16 oz cream cheese softened
- 1 cup powdered sugar
- 1 tsp vanilla extract
- 1 cup heavy whipping cream
- 12 Oreo cookies coarsely chopped
For the Topping:
- 1 cup heavy whipping cream
- 2 tbsp powdered sugar
- 6 Oreo cookies for garnish
Instructions
Step 1: Make the Crust
- Crush Oreos into fine crumbs using a food processor or a rolling pin.
- Mix with melted butter until the texture resembles wet sand.
- Divide and press into serving cups. Chill while making the filling.
Step 2: Make the Cheesecake Filling
- Beat cream cheese until smooth.
- Mix in powdered sugar and vanilla extract.
- Whip heavy cream separately until stiff peaks form, then fold into the cream cheese mixture.
- Fold in chopped Oreos gently.
Step 3: Assemble & Chill
- Spoon or pipe the cheesecake filling over the crust.
- Smooth the tops and refrigerate for at least 4 hours or overnight.
Step 4: Add Toppings & Serve
- Whip heavy cream with powdered sugar until soft peaks form.
- Add a dollop to each cheesecake cup and garnish with Oreos.
Notes
- Make-Ahead Friendly: Can be made a day in advance.
- Gluten-Free Option: Use gluten-free chocolate sandwich cookies.
- Serving Ideas: Use fancy glassware for formal events or plastic cups for casual settings.
Nutrition
Frequently Asked Questions About No-Bake Oreo Cheesecake Cups
How far in advance can I make these No-Bake Oreo Cheesecake Cups?
These cups can be prepared up to 2 days in advance. Keep them covered in the refrigerator, but wait to add the whipped cream topping and garnish until just before serving for the freshest presentation. The longer they sit, the softer the Oreo pieces in the filling will become, which some people actually prefer!
Can I freeze these No-Bake Oreo Cheesecake Cups?
Yes! These cups freeze beautifully for up to 1 month. Freeze them without the whipped cream topping and garnish. Wrap each cup individually in plastic wrap, then place in a freezer-safe container. Thaw overnight in the refrigerator before adding the final touches and serving.
How can I make these No-Bake Oreo Cheesecake Cups dairy-free?
You can create a dairy-free version by substituting the cream cheese with a plant-based cream cheese alternative, using coconut oil instead of butter for the crust, and replacing the heavy cream with full-fat coconut cream (the solid part from a can of coconut milk that’s been refrigerated overnight). The taste will be slightly different but still delicious.
Why is my cheesecake filling too soft?
If your filling isn’t setting properly, there are a few possible causes. Make sure your cream cheese is softened but not too warm, whip your heavy cream to stiff peaks, and allow sufficient chilling time (at least 4 hours, preferably overnight). Adding too much liquid (like extracts) can also affect the consistency.
Can I make this recipe in a large dish instead of individual cups?
Absolutely! This recipe works wonderfully as a single dessert in an 8×8 inch dish or a 9-inch pie plate. The preparation method remains the same, but you might want to increase the chilling time to ensure it sets properly. Cut into squares or slices before serving.
How do I prevent the Oreo crust from becoming too hard?
The key is to use just enough melted butter to moisten the crumbs without drowning them. The crumbs should resemble wet sand and hold together when pressed, but shouldn’t be soggy. Also, don’t press the crust too firmly into the cups – a gentle, even pressure is all you need.
A Perfect Ending to Any Meal
Every time I serve these No-Bake Oreo Cheesecake Cups, I’m reminded of my grandmother’s wisdom about desserts: “They should be worth every calorie.” These cups certainly live up to that standard. I remember watching my normally reserved father-in-law reach for a second cup at our last family gathering, a rare endorsement indeed!
What I love most about these No-Bake Oreo Cheesecake Cups is how they honor the classic flavor combination we all grew up with while transforming it into something elegant enough for any occasion. The balance of sweetness, creaminess, and chocolate is simply perfect.
I encourage you to make this recipe your own. Perhaps you’ll add a splash of your favorite liqueur to the filling or experiment with different Oreo flavors. Whatever your variation, I’d love to hear how these No-Bake Oreo Cheesecake Cups become part of your own dessert tradition.