

There’s something magical about biting into a fresh homemade peanut butter cup – that perfect crack of chocolate giving way to the creamy, nutty filling within. After years of buying them at the store, I became obsessed with creating peanut butter cups at home that would satisfy my craving but eliminate the preservatives and palm oil. These homemade peanut butter cups have become my signature dessert, the one friends specifically request when I ask what to bring to gatherings. The contrasting textures between the smooth chocolate shell and the slightly grainy peanut butter center create an experience that’s simultaneously nostalgic and elevated. Keep reading to discover how simple it is to create these irresistible treats in your own kitchen.
Why You’ll Love This Recipe
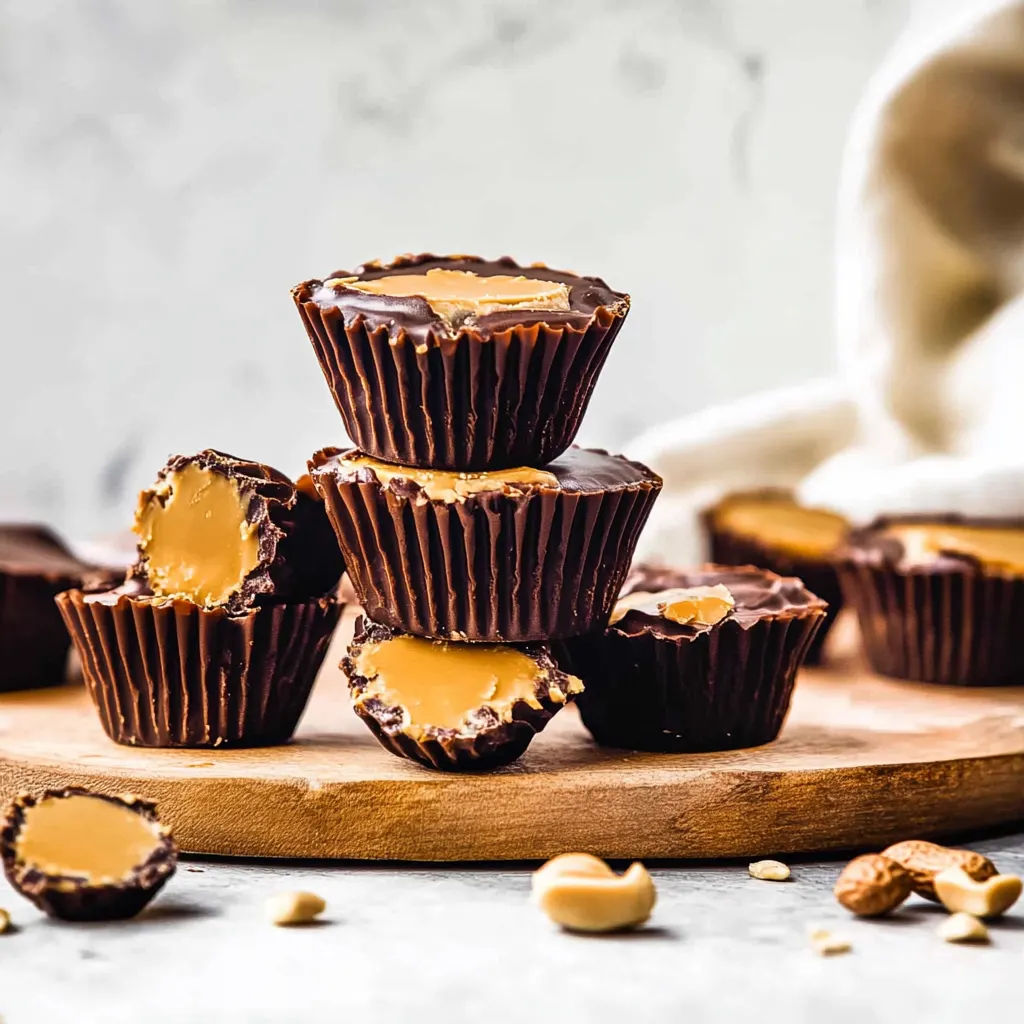
If you’ve ever found yourself disappointed by store-bought peanut butter cups that are too sweet or lacking in peanut butter flavor, this recipe solves that problem beautifully. You control the sweetness, the quality of ingredients, and most importantly, the chocolate-to-filling ratio. When I first served these at a family gathering, my brother-in-law (a self-proclaimed peanut butter cup connoisseur) declared them superior to any brand he’d ever tried.
What makes these homemade peanut butter cups truly special is their versatility. The basic recipe creates a classic treat, but once you master the technique, you can experiment with dark chocolate, crunchy peanut butter, or even additional mix-ins like sea salt or crushed pretzels. They make thoughtful handmade gifts during the holidays, and I’ve even served them as elegant desserts at dinner parties by using mini muffin tins for a more refined presentation.
Perhaps what I love most about these peanut butter cups is how they bring people together. There’s something about sharing homemade versions of beloved treats that sparks conversation and creates memorable moments.
Ingredients
For the Chocolate Shell:
- 2 cups high-quality chocolate chips or chopped chocolate bars – The chocolate is the first flavor that hits your palate, so using good quality matters. I recommend semi-sweet chocolate with around 55-60% cacao for the perfect balance of sweetness and depth. You can substitute milk chocolate for a sweeter cup or dark chocolate (70-75%) for a more intense flavor.
- 2 tablespoons coconut oil – This helps thin the chocolate for easier dipping and creates a smoother shell that snaps perfectly when bitten. You can substitute refined coconut oil if you don’t want any coconut flavor, or use shortening in a pinch.
For the Peanut Butter Filling:
- 1 cup creamy peanut butter – Natural peanut butter makes these peanut butter cups taste fresher and less processed, but you’ll need to mix it well if it’s separated. Traditional peanut butter brands work too and provide that classic texture many people love. Avoid peanut butter with added sugar for better control over the final sweetness.
- 1/4 cup powdered sugar – This sweetens the filling while keeping it smooth. You can adjust up or down based on your preference and the sweetness of your peanut butter.
- 2 tablespoons unsalted butter, softened – Butter adds richness and helps create that melt-in-your-mouth quality that makes great peanut butter cups. For dairy-free versions, a plant-based butter works well.
- 1/2 teaspoon vanilla extract – While subtle, vanilla enhances the overall flavor profile. Pure extract is preferred over imitation for a cleaner taste.
- 1/4 teaspoon salt – This is crucial to balance the sweetness and enhance the peanut flavor. If using salted butter or salted peanut butter, reduce or omit accordingly.
Optional Add-ins:
- 2 tablespoons graham cracker crumbs – For that authentic slightly crumbly texture found in classic peanut butter cups
- Flaky sea salt for topping – Just a tiny pinch elevates all the flavors
- Mini paper liners – While not an ingredient, these make removal and serving much easier
How to Make Homemade Peanut Butter Cups
Step 1: Prepare Your Workspace and Tools
- Line a standard 12-cup muffin tin with paper liners. Alternatively, use a mini muffin tin for bite-sized peanut butter cups (you’ll get about 24).
- Clear counter space for both melting chocolate and mixing the filling.
- Ensure all ingredients are at room temperature, especially the butter and peanut butter, for the smoothest results.
Step 2: Create the Perfect Peanut Butter Filling
- In a medium bowl, combine the peanut butter, softened butter, powdered sugar, vanilla extract, and salt.
- Mix until completely smooth with no sugar lumps. The filling should hold its shape but be soft enough to spread. If it seems too stiff, add a teaspoon of milk. If too soft, add a bit more powdered sugar.
- Taste and adjust sweetness or salt as needed. The filling should be slightly less sweet than you might expect, as the chocolate will add sweetness.
- If using graham cracker crumbs, fold them in gently now for that authentic slight texture.
Step 3: Melt the Chocolate Properly
- Place chocolate chips and coconut oil in a microwave-safe bowl.
- Microwave in 30-second intervals at 50% power, stirring thoroughly between each interval. This prevents scorching and ensures smooth chocolate. It typically takes 2-3 intervals.
- Alternatively, use a double boiler method by placing the chocolate in a heat-proof bowl over simmering water, stirring until melted.
- The chocolate is properly melted when it’s completely smooth and has a glossy appearance.
Step 4: Create the First Chocolate Layer
- Spoon approximately 1 tablespoon of melted chocolate into each muffin cup (or 1-2 teaspoons for mini cups).
- Using the back of a small spoon, gently push the chocolate about 1/3 of the way up the sides of each liner. This creates the cup that will hold the filling.
- Lightly tap the entire muffin tin against the counter a few times to remove air bubbles and create an even layer.
- Place the tin in the refrigerator for 10 minutes or until the chocolate has set. The chocolate should look matte rather than glossy when ready.
Step 5: Add the Peanut Butter Filling
- Remove the muffin tin from the refrigerator once the first chocolate layer has set.
- Scoop about 1-2 teaspoons of the peanut butter filling into the center of each chocolate cup.
- Gently press the filling into a flat disk, leaving a small border around the edge to allow the top layer of chocolate to seal with the bottom layer.
- The filling should not touch the paper liner – this ensures the chocolate fully encases the peanut butter.
Step 6: Complete with the Final Chocolate Layer
- If your remaining chocolate has begun to harden, gently reheat it using the same method as before.
- Spoon the remaining chocolate over each peanut butter center, making sure to cover the filling completely and creating a seal with the bottom chocolate layer.
- Lightly tap the muffin tin again to create an even surface.
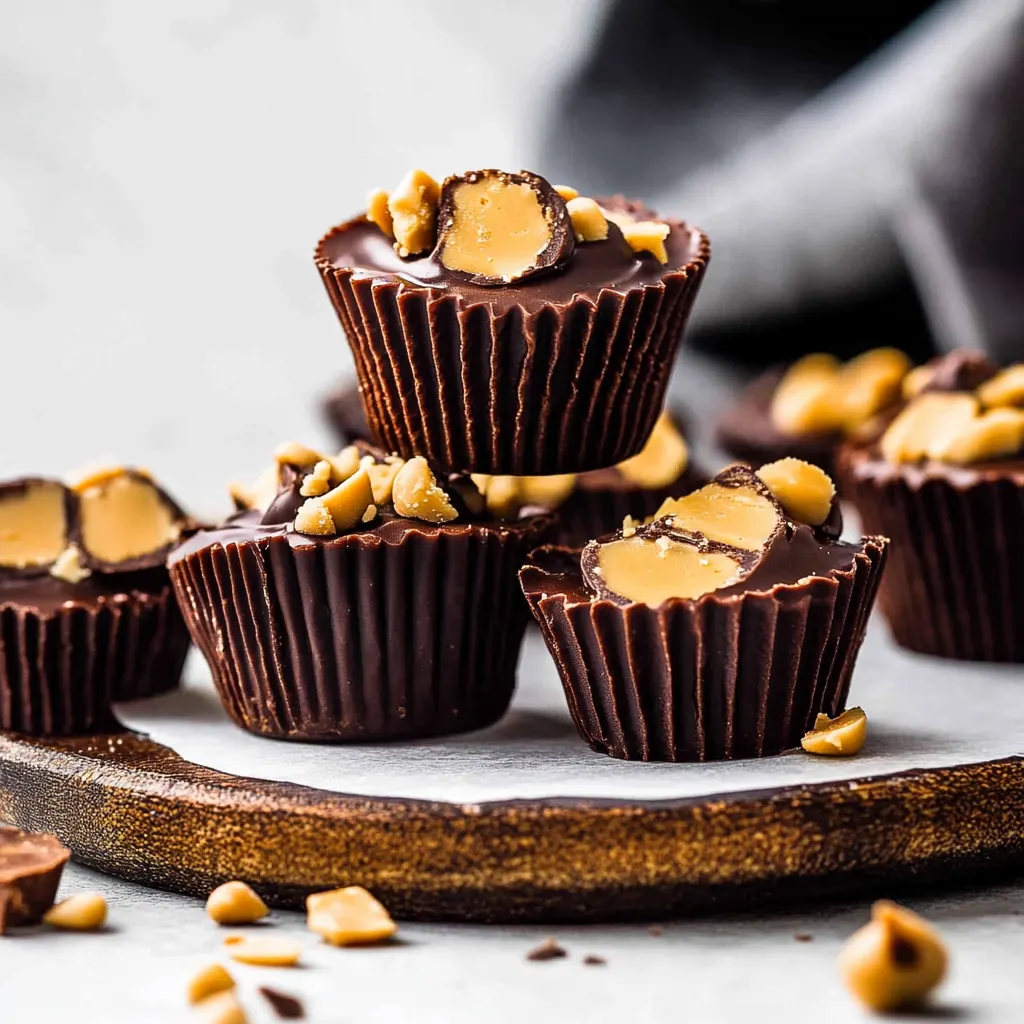
- If desired, sprinkle a tiny amount of flaky sea salt on top while the chocolate is still wet.
Step 7: Chill and Set
- Return the muffin tin to the refrigerator for at least 30 minutes, or until the peanut butter cups are completely set.
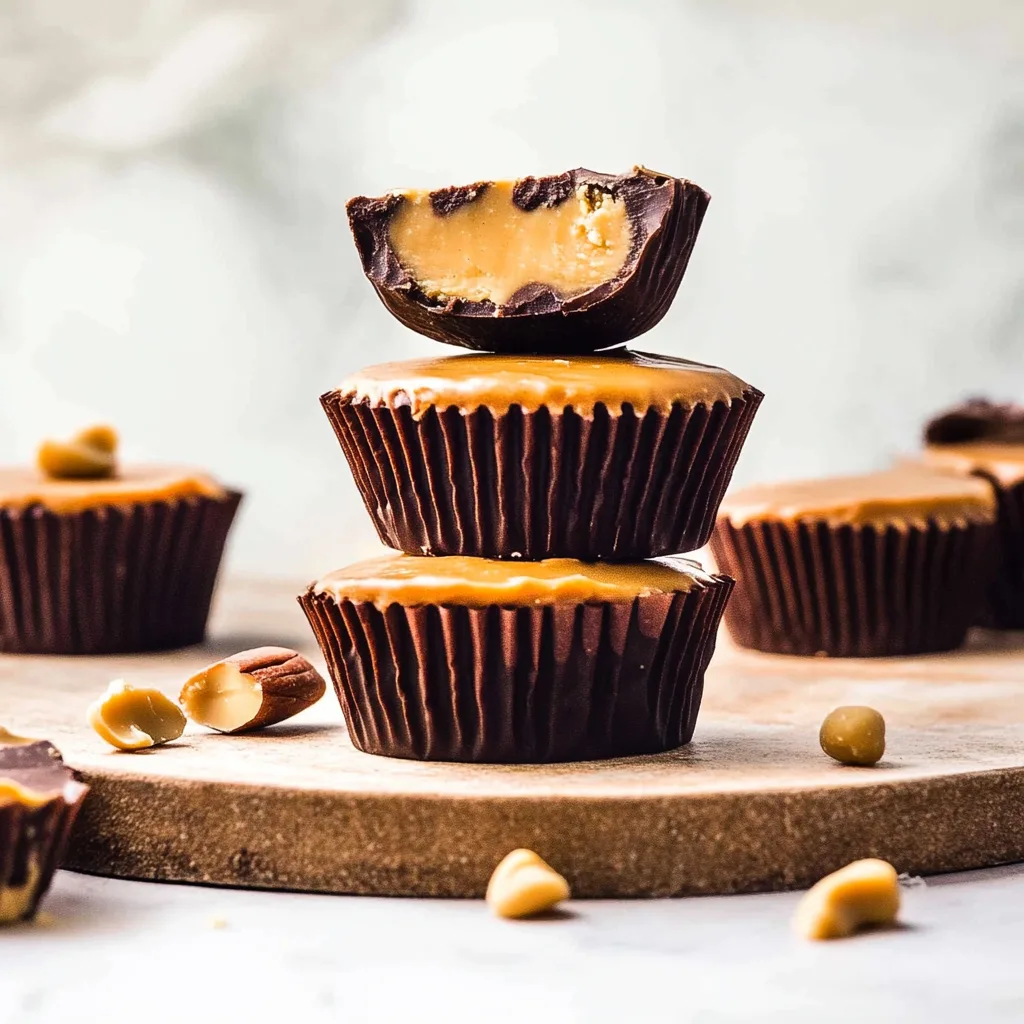
- The cups are ready when the chocolate is firm to the touch and has a clean snap when broken.
- For the best texture and flavor experience, allow the cups to sit at room temperature for 5-10 minutes before serving.
Delicious Variations of Peanut Butter Cups
1. Dark Chocolate Sea Salt Peanut Butter Cups
Transform these treats into a sophisticated dessert by using 70% dark chocolate and adding a sprinkle of flaky sea salt on top. The bitterness of the dark chocolate beautifully balances the sweet filling, while the salt creates little bursts of flavor that elevate the entire experience.
2. Crunchy Pretzel Peanut Butter Cups
Add 2-3 tablespoons of crushed pretzel pieces to your peanut butter filling for a salty crunch that contrasts with the smooth chocolate. This sweet-and-salty combination is particularly addictive and reminiscent of beloved chocolate-covered pretzels.
3. Maple Cinnamon Peanut Butter Cups
Replace the vanilla extract with 1/2 teaspoon of maple extract and add 1/4 teaspoon of cinnamon to the filling. This warm, autumnal variation makes these peanut butter cups perfect for fall gatherings or Thanksgiving dessert platters.
4. Vegan Peanut Butter Cups
Substitute plant-based butter for regular butter and ensure your chocolate is dairy-free. Many dark chocolates are naturally vegan, but always check the label. The flavor profile remains nearly identical to traditional peanut butter cups, making these perfect for mixed dietary gatherings.
5. Keto-Friendly Peanut Butter Cups
Use sugar-free chocolate chips and replace the powdered sugar with a keto-friendly sweetener like powdered erythritol or monk fruit sweetener. These modifications create a low-carb treat that satisfies cravings without compromising dietary goals.
6. Nutella-Swirled Peanut Butter Cups
Create a chocolate-hazelnut twist by mixing 2 tablespoons of Nutella into your peanut butter filling. Don’t fully incorporate it – just create beautiful swirls for a marbled effect that provides varying flavor in each bite.
Peanut Butter Cups Recipe – Better Than Store-Bought!
Equipment
- Paper liners
Ingredients
For the Chocolate Shell:
- 2 cups high-quality chocolate chips or chopped chocolate bars semi-sweet, milk, or dark
- 2 tablespoons coconut oil or shortening
For the Peanut Butter Filling:
- 1 cup creamy peanut butter natural or traditional
- 1/4 cup powdered sugar adjust to taste
- 2 tablespoons unsalted butter softened (or plant-based butter for dairy-free)
- 1/2 teaspoon vanilla extract
- 1/4 teaspoon salt omit if using salted peanut butter
Optional Add-ins:
- 2 tablespoons graham cracker crumbs for texture
- Flaky sea salt for topping
Instructions
Step 1: Prepare the Workspace
- Line a muffin tin with paper liners.
- Gather all ingredients and ensure butter and peanut butter are at room temperature.
Step 2: Make the Peanut Butter Filling
- Mix peanut butter, butter, powdered sugar, vanilla, and salt in a bowl until smooth.
- Adjust consistency if needed (add milk if too thick, more sugar if too soft).
Step 3: Melt the Chocolate
- Melt chocolate and coconut oil in a microwave at 50% power in 30-second intervals, stirring between each. Alternatively, use a double boiler.
- Stir until the chocolate is smooth and glossy.
Step 4: Make the Chocolate Base
- Spoon 1 tablespoon of melted chocolate into each liner.
- Spread the chocolate up the sides of the liners.
- Chill for 10 minutes until set.
- Step 5: Add the Peanut Butter Filling
- Place 1-2 teaspoons of filling into each chocolate cup.
- Flatten slightly, leaving space around the edges for sealing.
Step 6: Add the Final Chocolate Layer
- Spoon remaining melted chocolate over each cup, covering the filling completely.
- Tap the tin gently to remove air bubbles.
- Sprinkle flaky sea salt if desired.
Step 7: Chill and Serve
- Refrigerate for 30 minutes until fully set.
- Allow to sit at room temperature for 5-10 minutes before serving for the best texture.
Notes
- Store in an airtight container in the refrigerator for up to 2 weeks or freeze for up to 3 months.
- Use natural peanut butter with extra powdered sugar to help with consistency.
- Let peanut butter filling sit at room temp before adding chocolate to prevent cracking.
Nutrition
Frequently Asked Questions About Peanut Butter Cups
How should I store homemade peanut butter cups?
Store your peanut butter cups in an airtight container in the refrigerator for up to two weeks. The cool temperature keeps the chocolate firm and prevents the filling from becoming too soft. For longer storage, you can freeze them for up to three months – just place them in a single layer in a freezer-safe container with parchment between layers. Allow frozen cups to thaw in the refrigerator for about an hour before serving.
Can I make these peanut butter cups ahead of time for a party?
Absolutely! These peanut butter cups are perfect for make-ahead preparations. I often make them 2-3 days before an event, which actually improves their flavor as the ingredients have time to meld. Just store them in the refrigerator and bring them to room temperature about 15 minutes before serving for the best texture and flavor.
Why did my chocolate crack or bloom?
Chocolate cracking or developing a whitish bloom usually happens when it experiences sudden temperature changes. To prevent this, allow your peanut butter cups to set at room temperature for about 15 minutes before transferring them to the refrigerator. Also, make sure your peanut butter filling isn’t cold when you add it to the chocolate cups.
Can I use natural peanut butter in this recipe?
Yes, you can use natural peanut butter, but you’ll need to make a few adjustments. Natural peanut butter tends to be runnier and less stable at room temperature. To compensate, you might need to add an extra tablespoon of powdered sugar to help the filling hold its shape. Make sure to stir the natural peanut butter well before measuring to incorporate any separated oil.
How can I make these peanut butter cups look professional?
For picture-perfect peanut butter cups, use a piping bag (or zip-top bag with the corner snipped) to add the peanut butter filling in an even layer. After adding the top layer of chocolate, gently tap the muffin tin on the counter, then use a toothpick to create decorative swirls in the still-wet chocolate. Finally, let them set at room temperature for 15 minutes before refrigerating to prevent condensation on the surface.
Can I use crunchy peanut butter instead of smooth?
Absolutely! Crunchy peanut butter creates a delightful textural contrast in these peanut butter cups. You might want to reduce or omit the graham cracker crumbs if using crunchy peanut butter to avoid making the filling too thick. The peanut pieces will also create a more rustic appearance when you bite into the cup, which many people prefer.
A Sweet Ending to a Perfect Treat
Whenever I make these homemade peanut butter cups, I’m transported back to my grandmother’s kitchen, where we would experiment with different chocolate treats during holiday seasons. She always said, “Food made with patience and love tastes better than anything store-bought,” and these peanut butter cups prove her right every time. The balance of rich chocolate and creamy peanut butter filling creates something greater than the sum of its parts – a treat that honors tradition while embracing the joy of homemade quality.
I still remember the first time I served these at a neighborhood potluck. People kept asking, “Who brought the peanut butter cups?” in disbelief that they weren’t from a specialty chocolate shop. There’s something deeply satisfying about creating a beloved treat with your own hands, knowing exactly what goes into it.
Whether you follow the classic recipe or experiment with the variations, I hope these homemade peanut butter cups bring as much joy to your kitchen and gatherings as they have to mine. There’s a specific kind of magic that happens when chocolate meets peanut butter – it’s a timeless combination that never disappoints. Make them your own, share them generously, and enjoy the process as much as the delicious results.