

I’ve always had a passionate love affair with cheesecake that directly conflicted with my fitness goals—until I perfected this Protein Cheesecake recipe that changed everything. The first time I managed to create a Protein Cheesecake that actually tasted like the real thing, I literally did a happy dance in my kitchen. What makes this Protein Cheesecake truly special is how it captures that signature creamy, rich texture we all crave while providing a significant protein boost that supports muscle recovery and growth. The velvety smoothness on your tongue combined with that subtle tang and sweet vanilla aroma creates a sensory experience that’s shockingly close to traditional cheesecake. But don’t take my word for it—keep reading to discover how this guilt-free dessert can revolutionize your approach to both fitness nutrition and indulgent treats.
Why You’ll Love This Protein Cheesecake
Have you ever found yourself struggling to balance your nutrition goals with your dessert cravings? This Protein Cheesecake beautifully solves that common dilemma. Unlike traditional cheesecakes that can derail your nutrition plan or protein shakes that never quite satisfy your sweet tooth, this recipe delivers the best of both worlds—genuine dessert satisfaction with macronutrients that align with a fitness-focused lifestyle.
The first time I served this Protein Cheesecake at a family gathering, I didn’t tell anyone about the protein content. My fitness-averse uncle, who typically avoids anything labeled “healthy,” devoured two slices before I revealed the secret. His shocked expression when I explained each slice contained 15 grams of protein was priceless—and he still asked for the recipe!
What particularly excites me about this Protein Cheesecake is its versatility. You can enjoy it as a post-workout treat, a protein-packed breakfast, or a satisfying dessert. The base recipe can be customized with different flavors, toppings, and even protein sources to suit your taste preferences and nutritional needs. Make it once, and I guarantee it will become a staple in your meal prep rotation.
Now, let me walk you through exactly how to create this game-changing dessert that will revolutionize how you think about protein-packed treats.
Ingredients for Protein Cheesecake
For the Crust
- 1½ cups almond flour: Creates a nutty, satisfying base that’s lower in carbs than traditional graham cracker crusts. For a nut-free option, oat flour works well as a substitute.
- 3 tablespoons coconut oil, melted: Binds the crust ingredients together and adds subtle sweetness. Grass-fed butter can be substituted for a different flavor profile.
- 2 tablespoons granulated erythritol or monk fruit sweetener: Provides sweetness without the added sugar. Regular sugar can be used if macros aren’t a concern.
- 1 teaspoon cinnamon: Adds warmth and complexity to the crust. Cardamom or nutmeg can be used for variation.
- Pinch of salt: Enhances the overall flavor of the crust and balances the sweetness.
For the Filling
- 16 oz (2 blocks) light cream cheese, softened: The foundation of our Protein Cheesecake. Using light cream cheese reduces fat content while maintaining creaminess. Allow it to come to room temperature completely to avoid lumps.
- 1 cup Greek yogurt: Adds protein and tanginess while keeping the texture smooth. Use full-fat for richness or 0% for lower fat content.
- 3 large eggs: Provide structure and richness to the filling. Egg whites can be substituted for a lower fat option (use 4 egg whites instead of 3 whole eggs).
- ¾ cup whey protein powder (vanilla flavor): The star ingredient that transforms this into a Protein Cheesecake. Look for a high-quality powder with minimal additives. Casein protein can be substituted for an even creamier texture.
- ½ cup granulated erythritol or monk fruit sweetener: Sweetens without adding sugar. Adjust to taste based on your preference and the sweetness of your protein powder.
- 2 tablespoons lemon juice: Brightens the flavor and adds authentic cheesecake tanginess. Fresh-squeezed provides the best flavor.
- 1 tablespoon vanilla extract: Enhances the overall flavor profile. Pure extract rather than imitation makes a noticeable difference.
- ¼ cup sour cream: Adds creaminess and helps achieve that authentic cheesecake texture. Greek yogurt can be substituted for additional protein.
For the Optional Topping
- 1 cup fresh berries: Adds freshness, color, and antioxidants. Choose strawberries, blueberries, raspberries, or a mix.
- 2 tablespoons sugar-free maple syrup: Lightly sweetens the berries. Honey or agave can be used based on your preference.
- 1 tablespoon chia seeds (optional): Adds omega-3s and helps thicken the berry topping.
For dietary adaptations to this Protein Cheesecake:
- Dairy-free: Substitute dairy-free cream cheese, coconut yogurt, and plant-based protein powder.
- Gluten-free: This recipe is naturally gluten-free as written.
- Vegan: While challenging to replicate completely, you can experiment with silken tofu, dairy-free cream cheese, and plant-based protein powder with a flax egg substitute.
How to Make Protein Cheesecake
Step 1: Prepare the Crust
- Preheat your oven to 325°F (165°C) and lightly grease a 9-inch springform pan. Wrap the outside of the pan with aluminum foil to prevent water seepage during baking.
- In a medium bowl, combine almond flour, melted coconut oil, sweetener, cinnamon, and salt. Mix until the texture resembles wet sand and the mixture holds together when pressed between your fingers.
- Press the mixture firmly into the bottom of the prepared springform pan, creating an even layer. Use the bottom of a measuring cup to compact the crust.
- Bake for 10-12 minutes until just lightly golden around the edges. The crust should be fragrant but not browned. Set aside to cool while preparing the filling.
Step 2: Create the Cheesecake Filling
- Reduce oven temperature to 300°F (150°C).
- In a large bowl, beat the softened cream cheese until completely smooth and fluffy, about 2-3 minutes. Scrape down the sides of the bowl frequently to ensure no lumps remain.
- Add Greek yogurt and beat until combined and smooth.
- Add eggs one at a time, beating on low speed just until each is incorporated. Over-beating at this stage can incorporate too much air and cause cracking.
- In a separate bowl, whisk together the protein powder and sweetener to remove any lumps.
- Gradually add the protein powder mixture to the cream cheese mixture, beating on low speed until just combined.
- Add lemon juice and vanilla extract, mixing just until incorporated.
- Fold in the sour cream by hand using a rubber spatula. The filling should be smooth and pourable.
Step 3: Bake the Protein Cheesecake
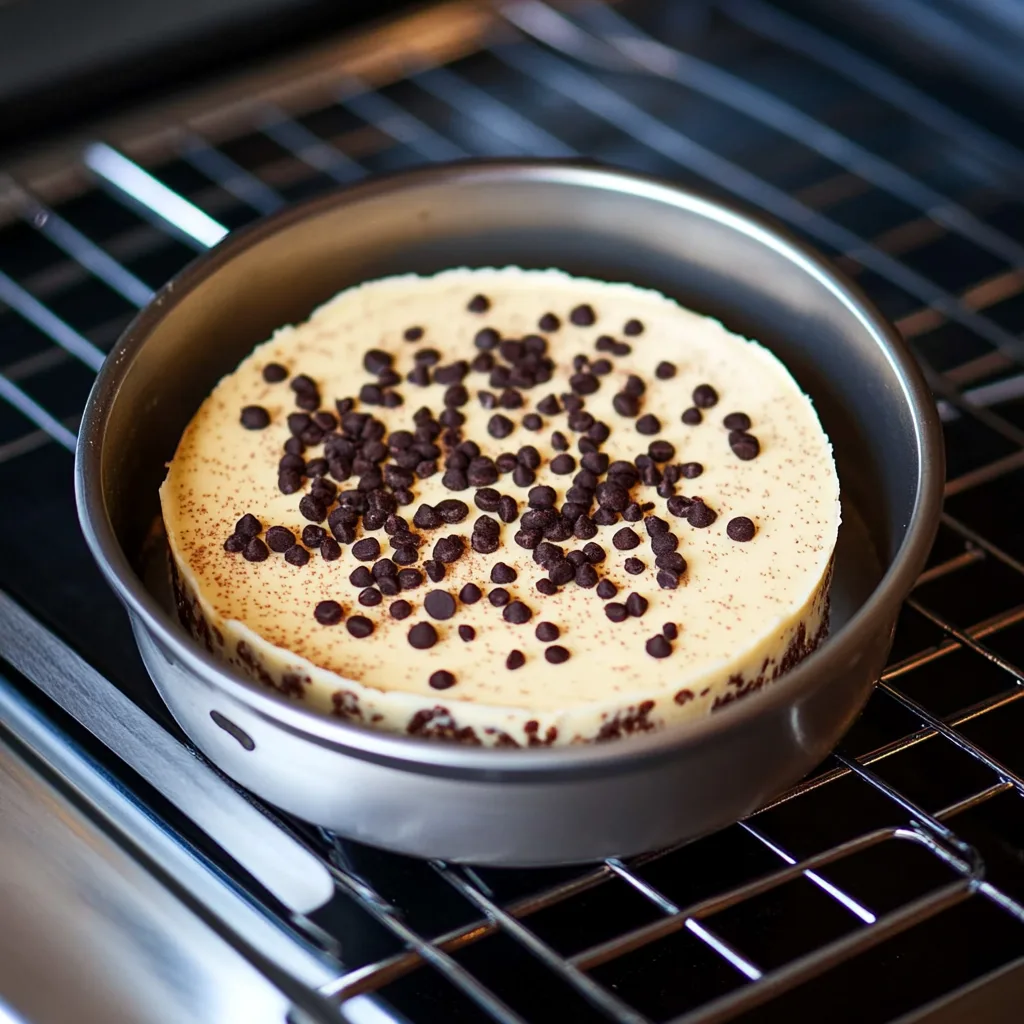
- Pour the filling over the cooled crust, smoothing the top with a spatula.
- Place the foil-wrapped springform pan in a larger roasting pan and add hot water to the roasting pan until it reaches about halfway up the sides of the springform pan. This water bath helps ensure even cooking and prevents cracking.
- Bake for 50-60 minutes until the edges are set but the center still has a slight jiggle. The cheesecake should not be completely firm in the center as it will continue to set as it cools.
- Turn off the oven, crack the door open, and let the cheesecake cool in the oven for 1 hour. This slow cooling helps prevent the surface from cracking.
- Remove the cheesecake from the water bath, run a knife around the edge of the pan, and let it cool completely at room temperature.
Step 4: Chill and Serve
- Once cooled to room temperature, cover the Protein Cheesecake and refrigerate for at least 4 hours, preferably overnight. This chilling time is crucial for setting the texture and developing the flavors.
- If desired, prepare the berry topping by combining fresh berries with sugar-free maple syrup and chia seeds in a small bowl. Let it sit for 15 minutes to allow the flavors to meld.
- Before serving, remove the sides of the springform pan and transfer the cheesecake to a serving plate.
- Top with the prepared berry mixture or serve it on the side.
Creative Variations for Your Protein Cheesecake
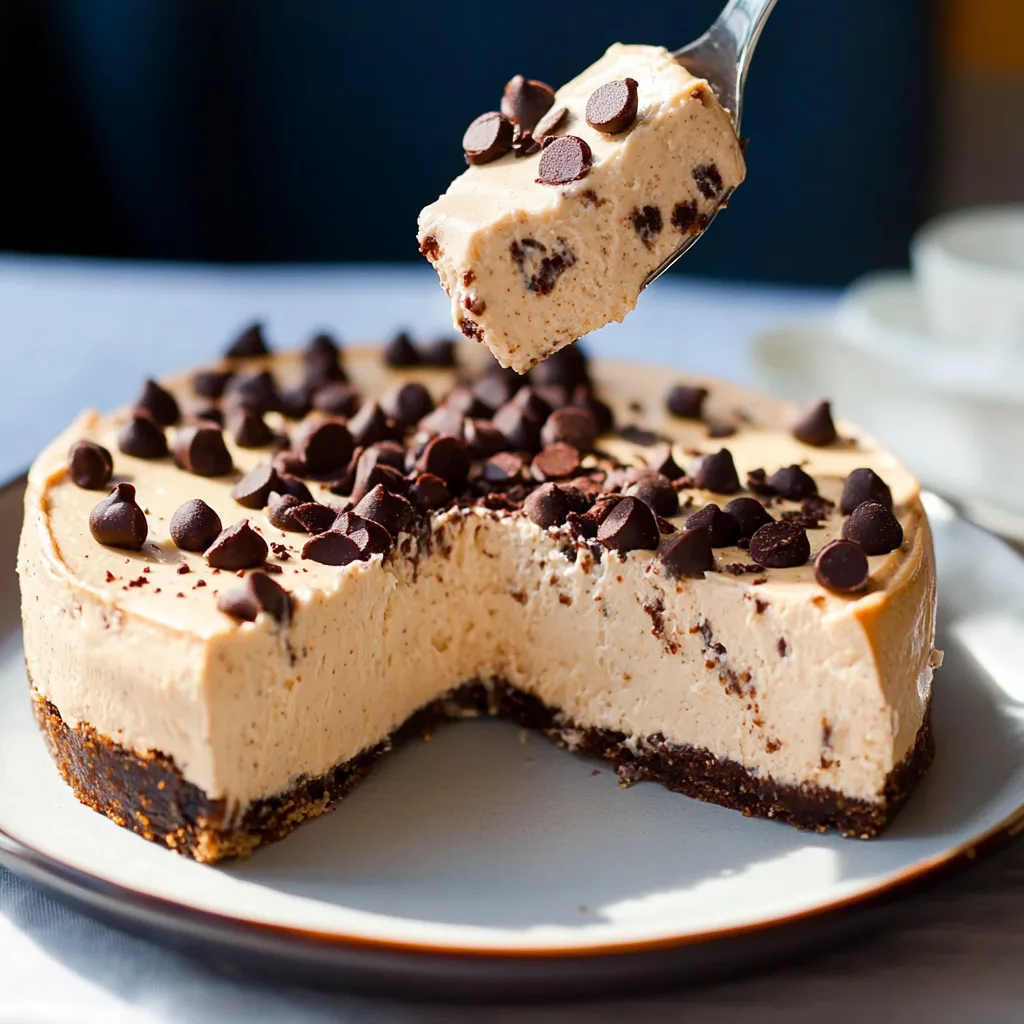
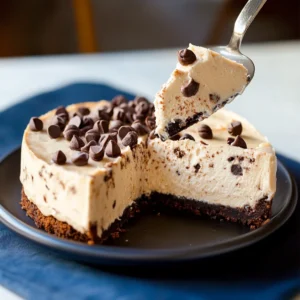
Chocolate Lover’s Protein Cheesecake
Replace ¼ cup of the protein powder with unsweetened cocoa powder and add 2 tablespoons of sugar-free chocolate chips to the filling. Top with sugar-free chocolate sauce or additional chocolate chips for an indulgent chocolate experience.
Peanut Butter Swirl
Warm 3 tablespoons of natural peanut butter until pourable and swirl it into the cheesecake batter before baking. Consider using a chocolate protein powder in the base for a peanut butter cup flavor profile.
Lemon Blueberry Burst
Add the zest of one lemon to the filling and fold in 1 cup of fresh blueberries (coated in a tablespoon of protein powder to prevent sinking) before baking. The fresh burst of lemon complements the tangy cheesecake perfectly.
Pumpkin Spice Edition
Replace ½ cup of Greek yogurt with ½ cup of pumpkin puree and add 1½ teaspoons of pumpkin pie spice to the filling. This variation is perfect for fall and winter months when you’re craving those warm, comforting flavors.
Cookie Dough
Mix 2 tablespoons of almond flour, 1 tablespoon of protein powder, 1 tablespoon of sweetener, and 1 tablespoon of sugar-free chocolate chips to create a cookie dough texture. Fold these “cookie dough” pieces into the filling before baking for a fun surprise in every bite.
Matcha Green Tea
Add 1-2 tablespoons of high-quality matcha powder to the filling for a beautiful green color and earthy flavor. Pair with a drizzle of white chocolate on top for visual contrast.
Protein Cheesecake
Equipment
- Medium and large mixing bowls
Ingredients
For the Crust:
- 1½ cups almond flour
- 3 tablespoons coconut oil melted
- 2 tablespoons granulated erythritol or monk fruit sweetener
- 1 teaspoon cinnamon
- Pinch of salt
For the Filling:
- 16 oz 2 blocks light cream cheese, softened
- 1 cup Greek yogurt
- 3 large eggs
- ¾ cup whey protein powder vanilla flavor
- ½ cup granulated erythritol or monk fruit sweetener
- 2 tablespoons lemon juice
- 1 tablespoon vanilla extract
- ¼ cup sour cream
Optional Topping:
- 1 cup fresh berries
- 2 tablespoons sugar-free maple syrup
- 1 tablespoon chia seeds optional
Instructions
Prepare the Crust
- Preheat the oven to 325°F (165°C). Grease a 9-inch springform pan and wrap it in aluminum foil. In a medium bowl, combine almond flour, coconut oil, sweetener, cinnamon, and salt. Press the mixture into the bottom of the pan. Bake for 10-12 minutes until lightly golden. Set aside to cool.
Create the Filling
- Lower the oven temperature to 300°F (150°C). Beat the cream cheese until smooth, then add Greek yogurt and mix until combined. Add eggs one at a time, mixing on low. In a separate bowl, combine protein powder and sweetener, then gradually add to the cream cheese mixture. Add lemon juice, vanilla extract, and fold in sour cream.
Bake the Cheesecake
- Pour the filling over the cooled crust. Place the springform pan in a roasting pan and add hot water halfway up the sides. Bake for 50-60 minutes until the edges are set but the center jiggles. Let it cool in the oven for 1 hour with the door ajar. Remove from the water bath and cool to room temperature.
Chill and Serve
- Refrigerate the cheesecake for at least 4 hours. Prepare the berry topping by mixing berries, syrup, and chia seeds. Top the cheesecake before serving.
Notes
- Storage: Keep leftovers refrigerated for up to 5 days.
- Substitutions: Use oat flour for a nut-free crust, or Greek yogurt for added protein.
- Vegan Option: Try silken tofu and plant-based protein for the filling.
Nutrition
Frequently Asked Questions About Protein Cheesecake
Can I make this Protein Cheesecake ahead of time?
Absolutely! This cheesecake actually benefits from being made 1-2 days in advance. The flavors meld and the texture becomes even more perfect with time. Just cover it tightly and keep refrigerated until ready to serve.
Why did my cheesecake crack on top?
Cracking typically occurs from either overmixing (which incorporates too much air), baking at too high a temperature, or cooling too quickly. Make sure to mix just until ingredients are combined, use the water bath method, and cool slowly in the oven with the door cracked open.
Which protein powder works best for this recipe?
Whey protein isolate or concentrate typically yields the best results for Protein Cheesecake. Look for a high-quality brand with minimal additives and a flavor you enjoy. Vanilla is versatile, but you can experiment with other flavors based on your variation.
Can I freeze this Protein Cheesecake?
Yes! This cheesecake freezes beautifully for up to 2 months. Cut it into individual slices before freezing for easy portion control. Thaw overnight in the refrigerator before serving.
What if I don’t have a springform pan?
While a springform pan provides the best results, you can use a regular 9-inch cake pan lined with parchment paper with excess hanging over the sides to help lift the cheesecake out after cooling. Alternatively, make individual portions in a muffin tin lined with paper liners.
How do I calculate the macros for this Protein Cheesecake?
The exact macronutrient profile will depend on the specific brands of ingredients you use, particularly the protein powder. For precise calculations, I recommend inputting your specific ingredients into a nutrition calculator. Generally, each slice (1/12 of the cake) contains approximately 15-18g of protein, 9-12g of fat, and 4-7g of net carbs.
A Sweet Balance of Nutrition and Indulgence
The first time I brought this Protein Cheesecake to my fitness group’s potluck, I watched as skeptical faces turned to expressions of pure delight. My trainer, who has the most discerning palate I know, paused mid-bite and said, “Wait, this is actually a protein dessert? No way.” That moment of transformation—from doubt to delight—is exactly why I love sharing this recipe.
What makes this Protein Cheesecake so special is how it honors the traditional indulgence of cheesecake while embracing modern nutritional needs. Cheesecake has been a beloved dessert for centuries, dating back to ancient Greece, where it was served to athletes during the first Olympic games. There’s something poetically perfect about this protein-enhanced version continuing that tradition of nourishing active bodies with something that brings joy.
I encourage you to make this recipe your own. Perhaps you’ll add a sprinkle of cinnamon to the filling, or maybe you’ll experiment with a different protein flavor. The beauty of this Protein Cheesecake is that it’s both a satisfying end to a meal and a supportive element in your nutrition plan.
Whether you’re sharing this with friends after a workout, serving it at a family gathering, or enjoying a slice as a rewarding treat after a long day, I hope this Protein Cheesecake brings you that perfect balance of pleasure and purpose. Because sometimes, the most meaningful food experiences come from creations that nourish both our bodies and our souls.
I LOVE IT
I absolutely love Panera Bread’s Chicken Salad! It’s the perfect blend of fresh ingredients and delicious flavors. The chicken is always tender and well-seasoned, and the combination of crisp celery, crunchy pecans, and sweet grapes creates a perfect balance of textures and tastes. The creamy dressing ties everything together beautifully without being too heavy.
Whether I have it on a sandwich, with a side salad, or just by itself, it never disappoints. It’s a great option for a light yet satisfying meal. I highly recommend it to anyone looking for a refreshing and tasty chicken salad.