

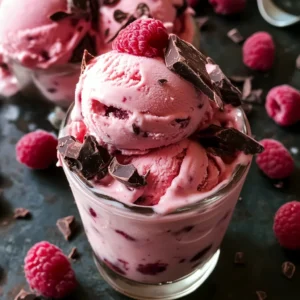
I still remember the first time I created raspberry chocolate chunk ice cream from scratch. It was a warm summer evening, and the vibrant aroma of fresh raspberries filled my kitchen as I folded chunks of rich, dark chocolate into the creamy base. That first spoonful was pure magic – the perfect balance of tart berries and decadent chocolate against a canvas of velvety smoothness.
As I’ve perfected my raspberry chocolate chunk ice cream recipe over the past decade, I’ve discovered the secrets that transform this dessert from merely good to absolutely unforgettable. In this article, I’ll share my comprehensive guide to creating the perfect homemade raspberry chocolate chunk ice cream. I hope you’ll join me on this delicious journey.
Raspberry chocolate chunk ice cream is a dessert that will make even the most disciplined sweet-tooth surrender. It’s perfect for those who appreciate the classic combination of fruit and chocolate or anyone looking to elevate their homemade ice cream game. Let’s explore what makes raspberry chocolate chunk ice cream so irresistibly special.
Key Takeaways
- Learn the secrets to creating silky-smooth raspberry chocolate chunk ice cream with perfect texture
- Discover the importance of selecting high-quality ingredients, including fresh raspberries and premium chocolate
- Understand the science behind ice cream making and how to achieve the ideal consistency
- Get expert tips and techniques for incorporating raspberries and chocolate chunks
- Find multiple methods including traditional churned and no-churn raspberry chocolate chunk ice cream recipes
- Explore vegan and dairy-free variations that don’t compromise on taste or texture
- Master storage techniques to maintain optimal flavor and prevent ice crystallization
What Makes Raspberry Chocolate Chunk Ice Cream Special
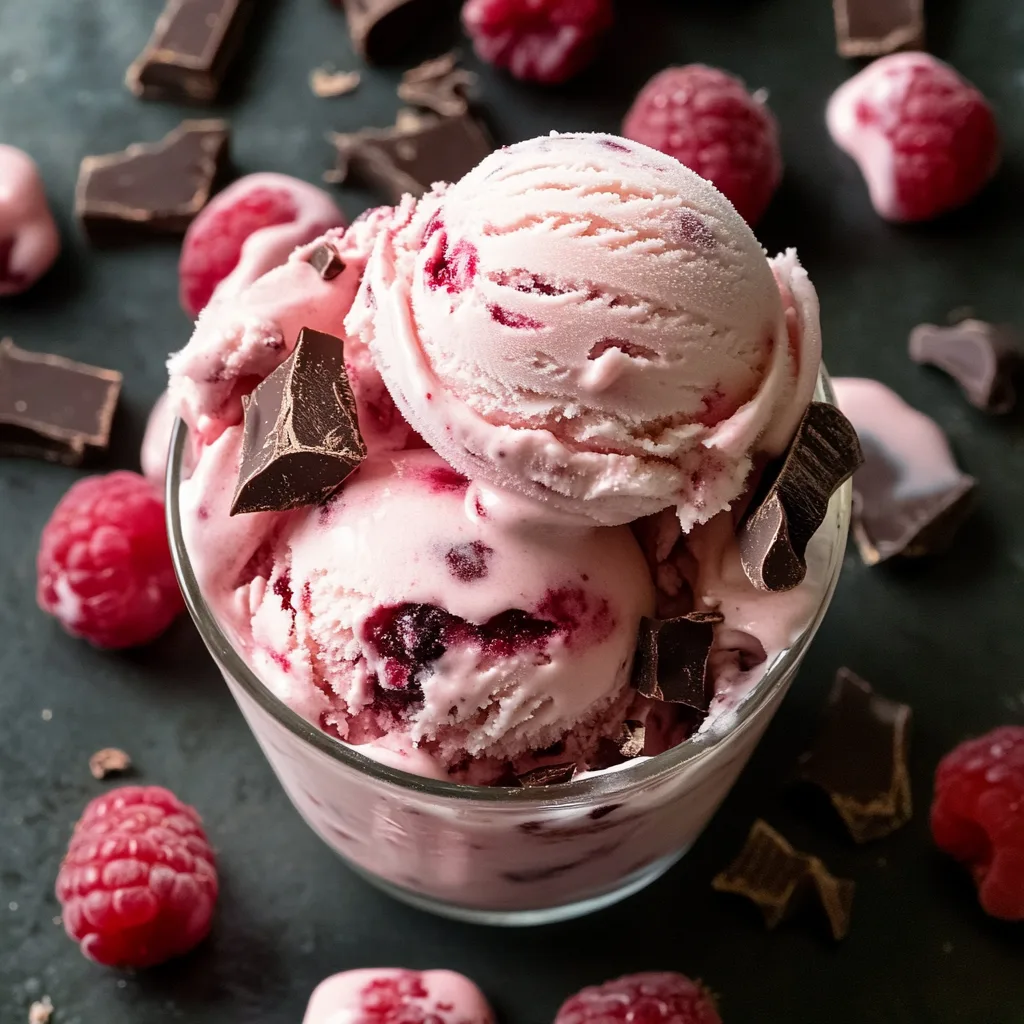
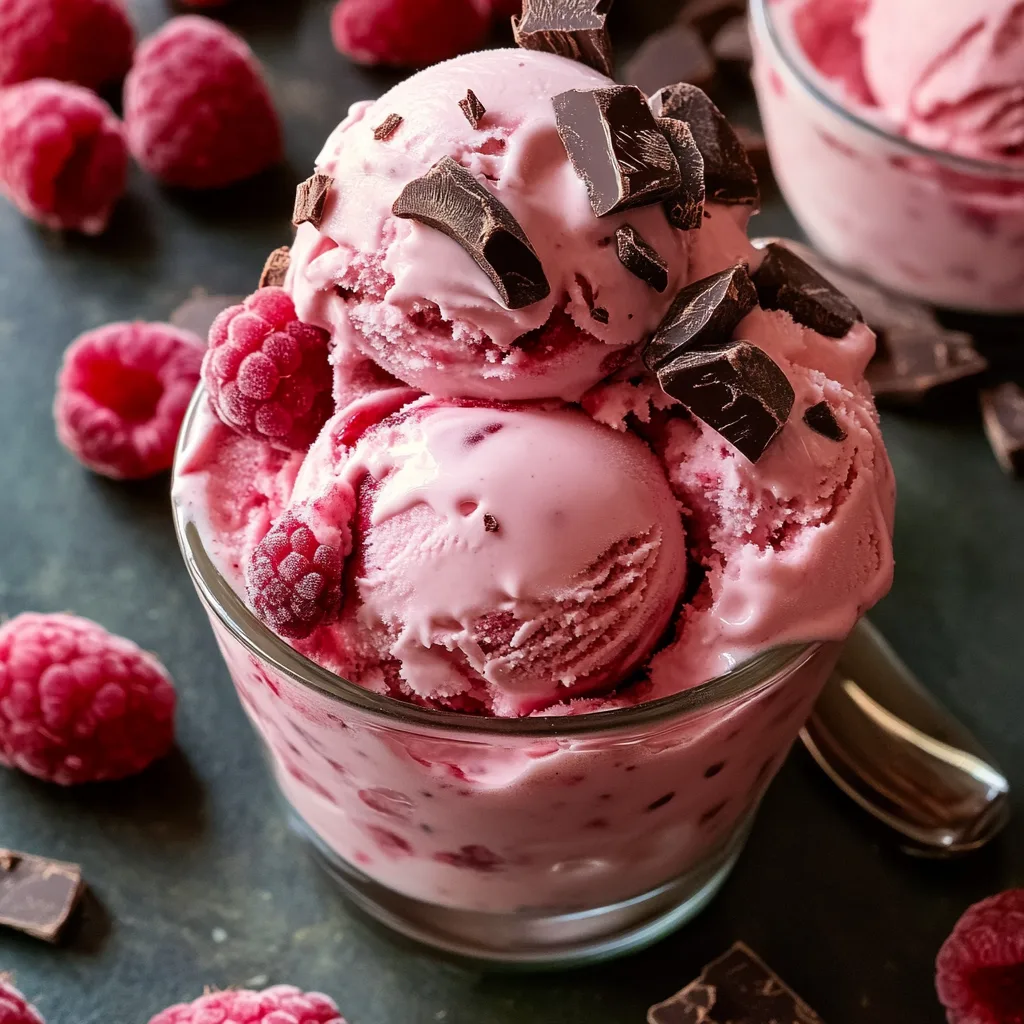
The magical combination of tart raspberries and rich chocolate chunks suspended in a creamy base makes raspberry chocolate chunk ice cream truly special. This beloved dessert strikes the perfect balance between fruity brightness and decadent indulgence. The contrast of smooth ice cream, juicy berry pieces, and satisfyingly chunky chocolate creates a multidimensional flavor and texture experience that’s impossible to resist.
The Perfect Flavor Pairing
Raspberries and chocolate share one of gastronomy’s most celebrated relationships. The bright acidity of raspberries cuts through the richness of chocolate, while the chocolate’s depth enhances the berry’s natural sweetness. When creating homemade raspberry chocolate chunk ice cream, this natural harmony elevates a simple frozen dessert into something truly extraordinary.
The Texture Trifecta
The best raspberry dark chocolate chunk ice cream delivers three distinct textures: silky-smooth cream, tender berry bits, and satisfying chocolate chunks. This textural contrast keeps each bite interesting and engaging. The chocolate pieces, slightly hardened by the cold, provide a delightful resistance before melting on your tongue, while the raspberry pieces offer bursts of juicy flavor.
The Science Behind the Perfect Scoop
Creating the perfect scoop of raspberry chocolate chunk ice cream requires understanding the science of ice cream making. The ideal fat content (usually between 14-16%) creates richness without becoming too heavy. Sugar not only sweetens but also lowers the freezing point, preventing ice crystals from forming. Air incorporation (overrun) determines density and mouthfeel. Mastering these elements is key to creating a professional-quality raspberry chocolate chunk ice cream recipe at home.
Essential Ingredients for Perfect Raspberry Chocolate Chunk Ice Cream
Creating exceptional homemade raspberry chocolate chunk ice cream starts with selecting the finest ingredients. The quality of each component dramatically impacts the final result, transforming a simple frozen dessert into a memorable culinary experience. For the best raspberry chocolate chunk ice cream recipe, you’ll need carefully selected dairy, premium chocolate, fresh raspberries, and a few additional ingredients that elevate the flavor profile.
For a standard batch serving 6-8 people, you’ll need:
| Ingredient | Quantity | Notes |
|---|---|---|
| Heavy cream | 2 cups | 36-40% fat content preferred |
| Whole milk | 1 cup | Provides protein for structure |
| Granulated sugar | ¾ cup | Adjustable based on raspberry sweetness |
| Egg yolks | 6 large | Creates custard base for richness |
| Fresh raspberries | 2 cups | Organic preferred, or frozen in off-season |
| Dark chocolate | 8 ounces | 70% cocoa content recommended |
| Pure vanilla extract | 1 tablespoon | Use real extract, not imitation |
| Sea salt | ¼ teaspoon | Enhances all flavors |
These carefully balanced ingredients create the foundation for a velvety, flavorful raspberry chocolate chunk ice cream. The proportion of dairy, eggs, and sugar ensures the perfect consistency, while premium chocolate and fresh raspberries deliver unparalleled flavor.
Choosing the Right Chocolate
For truly exceptional raspberry dark chocolate chunk ice cream, select high-quality chocolate with at least 70% cocoa content. This creates the perfect balance against the tart raspberries without becoming overly sweet. Single-origin chocolate bars will offer more complex flavor notes than standard baking chips. For the chunks, chop the chocolate by hand rather than using pre-packaged chips—this creates varied piece sizes that distribute more naturally throughout the ice cream.
Fresh vs. Frozen Raspberries
While fresh, in-season raspberries provide the most vibrant flavor for homemade raspberry chocolate chunk ice cream, frozen berries can be an excellent alternative when fresh aren’t available. If using frozen, thaw them partially before pureeing to maintain their bright flavor. Regardless of which you choose, straining the seeds is optional—keeping some seeds adds authentic texture and visual appeal to your raspberry chocolate chunk ice cream recipe.
Kitchen Tools and Equipment You’ll Need
Creating restaurant-quality raspberry chocolate chunk ice cream at home requires the right equipment. While an ice cream maker is traditionally considered essential, I’ll also share methods for delicious no-churn raspberry chocolate chunk ice cream that requires less specialized equipment.
Essential Tools for Any Method
For any raspberry chocolate chunk ice cream recipe, certain tools are non-negotiable for achieving perfect results:
| Tool | Purpose |
|---|---|
| Heavy-bottomed saucepan | For cooking custard base evenly |
| Heat-resistant silicone spatula | For stirring without scratching |
| Fine-mesh strainer | For silky-smooth texture |
| Mixing bowls (various sizes) | For preparing components |
| Food processor or blender | For raspberry puree |
| Sharp chef’s knife | For chopping chocolate |
| Digital thermometer | For precise custard cooking |
| Airtight storage container | For proper freezing |
Ice Cream Maker Options
If you’re serious about making homemade raspberry chocolate chunk ice cream regularly, investing in a quality ice cream maker is worthwhile. There are three main types to consider:
- Freezer-bowl models ($40-80): Require pre-freezing the bowl for 24 hours
- Compressor models ($200-300): Self-refrigerating for continuous use
- Salt-and-ice models ($30-60): Traditional method requiring ice and rock salt
Each has advantages, but compressor models offer the most convenience for regular ice cream making.
No-Churn Equipment Alternatives
For no-churn raspberry chocolate chunk ice cream, you’ll need:
- Stand mixer or hand mixer with whipping attachments
- Loaf pan or shallow container for freezing
- Plastic wrap for covering surface
This method produces excellent results without specialized equipment, making it perfect for occasional ice cream makers.
Preparing Your Raspberry Chocolate Chunk Ice Cream Recipe
Creating perfect homemade raspberry chocolate chunk ice cream requires attention to detail and proper technique. This step-by-step guide will walk you through the traditional custard-based method that delivers the richest, creamiest results. For those seeking a simpler approach, I’ll also share my reliable no-churn raspberry chocolate chunk ice cream recipe later.
Making the Custard Base
The foundation of exceptional raspberry chocolate chunk ice cream recipe is a properly prepared custard base. This requires patience and precision but results in unparalleled creaminess.
- In a medium saucepan, combine 2 cups heavy cream, 1 cup whole milk, and ½ cup sugar. Heat over medium until steaming but not boiling.
- Meanwhile, whisk 6 egg yolks with remaining ¼ cup sugar until pale and thickened.
- Slowly pour half the hot cream mixture into egg yolks while whisking constantly (tempering).
- Return the entire mixture to the saucepan and cook over medium-low heat, stirring constantly.
- Cook until mixture reaches 170-175°F and coats the back of a spoon.
- Strain through a fine-mesh sieve into a clean bowl and add 1 tablespoon vanilla extract and ¼ teaspoon salt.
- Cool completely, then refrigerate for at least 4 hours or overnight.
Preparing the Raspberry Swirl
The raspberry component adds bright flavor and beautiful color to your homemade raspberry chocolate chunk ice cream.
- Process 2 cups fresh raspberries in a blender or food processor until smooth.
- Pass through a fine-mesh strainer to remove seeds (optional—I personally prefer keeping some seeds for authentic texture).
- Combine raspberry puree with 3 tablespoons sugar and 1 tablespoon lemon juice in a small saucepan.
- Simmer for 5-7 minutes until slightly thickened.
- Cool completely before using.
Preparing the Chocolate Chunks
For the perfect chocolate chunks in your raspberry chocolate chunk ice cream:
- Choose high-quality dark chocolate (70% cocoa content recommended).
- Chop 8 ounces chocolate into irregular pieces, ranging from small shards to chunks the size of a small grape.
- For extra decadence, melt 2 ounces of the chocolate, drizzle over a parchment-lined baking sheet, and freeze for 10 minutes.
- Break the frozen chocolate sheet into thin, irregular shards for varied texture.
By carefully preparing each component, you’ll create a raspberry chocolate chunk ice cream with professional-quality texture and flavor complexity.
The Art of Freezing and Churning
The freezing and churning process is where the magic happens in creating perfect homemade raspberry chocolate chunk ice cream. This stage determines the final texture and consistency, transforming liquid ingredients into a velvety frozen delight.
Traditional Churning Method
For the traditional method using an ice cream maker:
- Ensure your ice cream maker is ready (pre-freeze bowl if required).
- Pour the chilled custard base into your ice cream maker.
- Churn according to manufacturer’s instructions, usually 20-25 minutes.
- When the mixture reaches soft-serve consistency, add the chocolate chunks gradually in the last 2-3 minutes of churning.
- Transfer to a chilled container, creating layers with raspberry swirl between layers of ice cream.
- Use a butter knife to gently swirl the layers together, creating a marbled effect.
- Press plastic wrap directly onto the surface of the ice cream to prevent ice crystals.
- Freeze for at least 4 hours or until firm.
No-Churn Method for Raspberry Chocolate Chunk Ice Cream
The no-churn raspberry chocolate chunk ice cream method delivers impressive results without specialized equipment:
- Whip 2 cups cold heavy cream to stiff peaks using a stand or hand mixer.
- Gently fold in one 14-oz can sweetened condensed milk and 1 tablespoon vanilla.
- Fold in ½ cup cooled raspberry puree, leaving visible streaks.
- Gently fold in chocolate chunks.
- Transfer to a chilled loaf pan or container.
- Drizzle remaining raspberry puree on top and swirl with a knife.
- Cover with plastic wrap pressed directly on surface.
- Freeze for at least 6 hours or overnight.
The no-churn method creates a slightly different texture than traditional churning but is remarkably creamy and scoopable.
The Importance of Temperature and Timing
For either method, temperature control is crucial for perfect raspberry chocolate chunk ice cream:
- Chilling the base thoroughly (below 40°F) before churning
- Maintaining a freezer temperature of 0°F to -5°F for proper setting
- Allowing the ice cream to temper for 5-10 minutes before serving for ideal scoopability
Following these precise steps yields raspberry chocolate chunk ice cream with professional texture and flavor distribution.
Creating the Perfect Raspberry and Chocolate Integration
The hallmark of exceptional raspberry chocolate chunk ice cream is how the raspberries and chocolate integrate with the creamy base. Rather than simply mixing ingredients together, there’s an art to creating distinct flavor pockets and texture variations throughout the ice cream.
Raspberry Integration Techniques
For perfectly distributed raspberry flavor in your homemade raspberry chocolate chunk ice cream, consider these approaches:
- Layered swirl method: Create distinct ribbons of raspberry by adding the cooled puree after churning, layering it between portions of ice cream in your storage container, then gently swirling with a knife.
- Partial incorporation: Fold half the raspberry puree directly into the base before churning, then swirl in the remaining half afterward for varied intensity of flavor.
- Macerated berry chunks: In addition to puree, fold in ¼ cup of lightly crushed raspberries that have been tossed with 1 tablespoon sugar and allowed to macerate for 30 minutes.
Chocolate Chunk Perfection
The chocolate in raspberry dark chocolate chunk ice cream should provide textural contrast and flavor complexity:
- Size variation: Create a mix of chocolate piece sizes, from tiny shards that melt quickly on the tongue to larger chunks that offer a satisfying bite.
- Temperature consideration: Add chocolate chunks in the final minutes of churning to prevent them from being pulverized by the dasher.
- Chocolate type blend: Combine different chocolate varieties—70% dark for complexity, semisweet for accessibility, and even white chocolate for visual contrast in your raspberry chocolate chunk ice cream recipe.
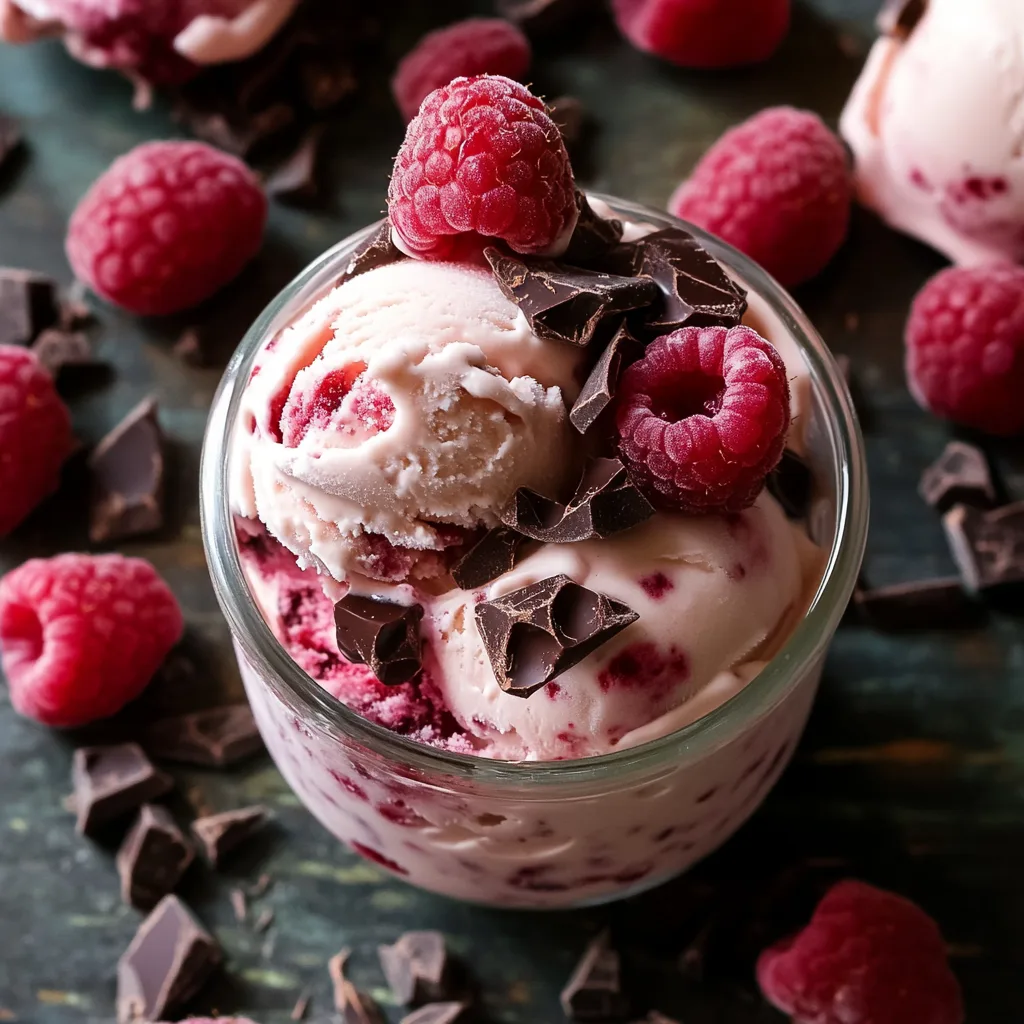
Achieving Visual Appeal
The visual presentation of your raspberry chocolate chunk ice cream enhances the eating experience:
- Reserve a few whole raspberries and chocolate pieces to press into the top surface before final freezing.
- Create defined swirls by using a chopstick or skewer for more precise control when marbling.
- For serving, garnish with fresh raspberries, additional chocolate shavings, and a light dusting of cocoa powder.
These techniques elevate your homemade raspberry chocolate chunk ice cream from good to extraordinary, creating a dessert that delights all senses.
Vegan Raspberry Chocolate Chunk Ice Cream Options
Creating a delicious vegan raspberry chocolate chunk ice cream is entirely possible with the right ingredients and techniques. Plant-based alternatives can yield a creamy, flavorful frozen dessert that rivals traditional dairy versions.
Plant-Based Ingredient Substitutions
The foundation of exceptional vegan raspberry chocolate chunk ice cream starts with choosing the right dairy alternatives:
| Traditional Ingredient | Vegan Substitute | Notes |
|---|---|---|
| Heavy cream | Full-fat coconut milk | Use canned, not refrigerated carton |
| Whole milk | Cashew cream or oat milk | Cashew provides richness; oat is neutral |
| Egg yolks | Cornstarch or arrowroot | 2 Tbsp per cup of liquid |
| Coconut cream | For extra richness | |
| Sweetened condensed milk | Coconut condensed milk | Available commercially or make homemade |
| Chocolate chunks | Dark chocolate (70%+) | Most dark chocolate is naturally vegan |
Recipe Adjustments for Plant-Based Success
To create the perfect texture in vegan raspberry chocolate chunk ice cream recipe:
- Increase fat content with coconut cream or cashew butter to compensate for missing dairy fat.
- Add 1 tablespoon of vodka to lower the freezing point and improve scoopability.
- Incorporate 2 tablespoons of light corn syrup or agave nectar to prevent ice crystal formation.
- Use an immersion blender to fully emulsify the base before churning.
No-Churn Vegan Method
For a simple no-churn vegan raspberry chocolate chunk ice cream:
- Refrigerate two cans of full-fat coconut milk overnight.
- Scoop the solidified cream from the top, discarding the liquid.
- Whip the coconut cream until fluffy with ½ cup powdered sugar and 1 tablespoon vanilla.
- Fold in raspberry puree and vegan chocolate chunks.
- Freeze for 6-8 hours, stirring every hour for the first 3 hours.
This method creates a creamy vegan raspberry chocolate chunk ice cream without specialized equipment.
Troubleshooting Common Issues
Even experienced ice cream makers occasionally encounter challenges when creating raspberry chocolate chunk ice cream. Understanding how to diagnose and solve common problems ensures your homemade frozen dessert always turns out perfectly.
Preventing Icy Texture
A common complaint with homemade raspberry chocolate chunk ice cream recipe is an icy texture rather than creamy smoothness.
Causes and Solutions:
- Insufficient fat content: Ensure you’re using heavy cream with at least 36% fat content
- Incorrect sugar balance: Sugar acts as an anti-freeze; aim for 15-20% of total weight
- Improper storage: Use shallow, airtight containers and maintain constant freezer temperature
- Air exposure: Press plastic wrap directly onto surface before covering container
Fixing Flavor Balance Issues
Getting the perfect balance of raspberry to chocolate in your homemade raspberry chocolate chunk ice cream can be tricky.
Causes and Solutions:
- Overwhelming raspberry: Reduce puree by 25% or add 1 tablespoon lemon juice to brighten without intensifying
- Dominant chocolate: Use chocolate with lower cocoa percentage or reduce quantity by 25%
- Flat flavor profile: Add ¼ teaspoon salt and 1 teaspoon vanilla to enhance all flavors
- Too sweet: Reduce sugar by 2 tablespoons and increase raspberry amount by 20%
Storage Solutions for Longevity
Proper storage is crucial for maintaining the quality of your raspberry chocolate chunk ice cream over time.
Best Practices:
- Use shallow containers with tight-fitting lids
- Maintain freezer temperature at 0°F to -5°F
- Place ice cream at the back of the freezer, away from the door
- For longer storage, place a layer of plastic wrap directly on the surface
- Consume within 2 weeks for optimal flavor and texture
| Issue | Cause | Solution |
|---|---|---|
| Icy texture | Air exposure, temperature fluctuation | Use plastic wrap on surface, maintain constant freezer temperature |
| Gummy texture | Overchurned | Stop churning when ice cream reaches soft-serve consistency |
| Crystallized chocolate | Freezer too cold | Temper chocolate before adding or use chocolate chips with stabilizers |
| Weeping raspberries | Too much water content | Cook raspberry puree to reduce water content before adding |
By understanding these common issues and their solutions, you can consistently create perfect homemade raspberry chocolate chunk ice cream with professional-quality texture and balanced flavor.
Delicious Variations of Raspberry Chocolate Chunk Ice Cream
The classic raspberry chocolate chunk ice cream recipe serves as a wonderful foundation for creative variations. By adjusting ingredients and techniques, you can customize this dessert to suit different preferences and dietary needs while maintaining the essential flavor harmony.
Flavor Enhancements and Additions
Elevate your basic raspberry chocolate chunk ice cream recipe with these creative flavor additions:
- White Chocolate Raspberry: Substitute white chocolate chunks for a sweeter, more mellow counterpoint to the tart raspberries
- Raspberry Chocolate Cheesecake: Add 4 ounces of cream cheese to the base and fold in crushed graham crackers along with the chocolate chunks
- Raspberry Chocolate Hazelnut: Incorporate 3 tablespoons of hazelnut spread (like Nutella) into the base and add chopped toasted hazelnuts with the chocolate chunks
- Balsamic Raspberry Chocolate: Add 1 tablespoon of reduced balsamic vinegar to the raspberry puree for a sophisticated flavor profile
- Spiced Raspberry Chocolate: Infuse the cream with a cinnamon stick, star anise, and cardamom before making the base
Dietary Adaptations
Modify your homemade raspberry chocolate chunk ice cream to accommodate different dietary needs:
| Dietary Need | Adaptation |
|---|---|
| Low-sugar | Use Allulose or erythritol instead of sugar; use stevia-sweetened chocolate |
| Gluten-free | Already naturally gluten-free; just ensure chocolate has no gluten-containing additives |
| Keto-friendly | Use heavy cream and almond milk base with keto sweeteners and 85%+ dark chocolate |
| Dairy-free | Use coconut cream and almond milk with dairy-free chocolate chunks |
| Egg-free | Replace custard with Philadelphia-style base using just cream, milk and sugar |
Presentation Variations
Transform the serving style of your raspberry chocolate chunk ice cream:
- Ice Cream Sandwiches: Spread softened ice cream between chocolate cookies and refreeze
- Raspberry Chocolate Chunk Affogato: Serve a scoop with a shot of hot espresso poured over
- Molded Forms: Use silicone molds to create individual servings in interesting shapes
- Ice Cream Cake: Layer with chocolate cake for a stunning dessert centerpiece
These variations maintain the essential character of raspberry chocolate chunk ice cream while offering new experiences for your palate. Don’t be afraid to experiment and create your own signature version!
Storage and Serving Recommendations
Proper storage and serving techniques are crucial for maintaining the quality and flavor of your homemade raspberry chocolate chunk ice cream. Following these guidelines ensures each scoop is as delicious as the first.
Optimal Storage Conditions
To preserve the texture and flavor of your raspberry chocolate chunk ice cream recipe:
- Store in shallow, airtight containers rather than deep ones for more consistent freezing
- Maintain freezer temperature between 0°F and -5°F for ideal consistency
- Place ice cream at the back of the freezer where temperature is most stable
- Use a layer of plastic wrap pressed directly on the surface before securing the lid to prevent ice crystals
- Limit storage time to 2 weeks for optimal flavor; while safe to eat beyond this timeframe, quality diminishes
Perfect Serving Techniques
For the ideal serving experience of your homemade raspberry chocolate chunk ice cream:
- Remove from freezer 5-10 minutes before serving to temper slightly
- Warm your ice cream scoop in hot water and dry before scooping
- Use a firm, swift motion when scooping rather than digging
- Serve in chilled bowls or cones to slow melting
- Garnish with fresh raspberries and additional chocolate shavings for visual appeal
Pairing Suggestions
Enhance your raspberry chocolate chunk ice cream with these complementary accompaniments:
| Pairing | Why It Works |
|---|---|
| Dark chocolate sauce | Intensifies the chocolate notes |
| Almond tuiles | Adds crisp texture contrast |
| Fresh mint leaves | Provides aromatic freshness |
| Raspberry coulis | Amplifies the berry flavor |
| Toasted coconut | Introduces complementary nuttiness |
| Rich espresso | Balances sweetness with bitterness |
By following these storage and serving recommendations, your homemade raspberry chocolate chunk ice cream will maintain its quality and deliver a consistently delightful experience with every serving.
Conclusion: Mastering Your Homemade Raspberry Chocolate Chunk Ice Cream
Creating the perfect raspberry chocolate chunk ice cream at home is truly a rewarding culinary achievement. Through this comprehensive guide, you’ve gained the knowledge and techniques to craft a frozen dessert that rivals premium store-bought varieties. The combination of tart raspberries and rich chocolate chunks suspended in a velvety cream base creates a sensory experience that’s difficult to surpass.
The secret to exceptional homemade raspberry chocolate chunk ice cream lies in understanding the science behind ice cream making while respecting the quality and balance of ingredients. Whether you’ve chosen the traditional custard-based method or opted for the simpler no-churn approach, the principles remain the same: quality ingredients, proper temperature control, and careful integration of flavors and textures.
Don’t be afraid to experiment with the variations we’ve discussed or to develop your own signature version of raspberry chocolate chunk ice cream recipe. The beauty of homemade ice cream is the ability to customize it precisely to your preferences—adjusting sweetness, raspberry intensity, chocolate type, or even creating vegan raspberry chocolate chunk ice cream alternatives.
Remember that ice cream making is both science and art. Each batch you create will teach you something new, allowing you to refine your technique over time. The real joy comes not just from the delicious end product but from the process itself—the transformation of simple ingredients into something truly extraordinary that brings joy to everyone who tastes it.
So gather your ingredients, prepare your equipment, and embark on your ice cream making journey. Your perfect scoop of raspberry chocolate chunk ice cream awaits!
Creamy Raspberry Chocolate Chunk Ice Cream
Equipment
- Blender
Ingredients
Custard Base:
- 2 cups heavy cream
- 1 cup whole milk
- ¾ cup sugar
- 6 egg yolks
- 1 tbsp vanilla extract
- ¼ tsp salt
Raspberry Swirl:
- 2 cups fresh raspberries
- 3 tbsp sugar
- 1 tbsp lemon juice
Add-Ins:
- 8 oz dark chocolate chopped into chunks
Instructions
- Custard: Heat cream, milk, and ½ cup sugar until steaming. Temper egg yolks with hot mixture, then cook to 175°F. Strain, add vanilla/salt, and chill 4+ hrs.
- Raspberry Swirl: Blend berries, strain seeds (optional). Simmer with sugar/lemon juice for 5 mins. Cool.
- Churn: Pour custard into ice cream maker. When almost set, add chocolate chunks.
- Layer: Alternate ice cream and raspberry swirl in a container. Swirl gently with a knife.
- Freeze: 4+ hrs until firm.
Notes
- No ice cream maker? Use the no-churn method: Fold whipped cream into sweetened condensed milk + raspberry swirl.
- Vegan option: Swap dairy for coconut cream and use vegan chocolate.
- Boost flavor: Add 1 tsp balsamic vinegar to the raspberry swirl.
Nutrition
FAQ
What is the origin of raspberry chocolate chunk ice cream?
Raspberry chocolate chunk ice cream evolved from the classic pairing of raspberries and chocolate in desserts. While the exact origin isn’t documented, it represents the perfect marriage of tart fruit and rich chocolate that has been celebrated in pastry traditions for centuries.
Why are raspberries and chocolate such a perfect pairing?
The tart acidity of raspberries perfectly balances the rich, slightly bitter notes of chocolate. This complementary relationship creates a flavor harmony where each component enhances the other—the raspberries brighten the chocolate while the chocolate deepens the raspberry flavor.
What are the essential ingredients for making raspberry chocolate chunk ice cream?
The essential ingredients include heavy cream, whole milk, sugar, egg yolks (for custard-based), fresh or frozen raspberries, high-quality dark chocolate, vanilla extract, and a pinch of salt. Each ingredient plays a crucial role in developing the perfect flavor and texture.
What kitchen tools and equipment are needed for making raspberry chocolate chunk ice cream?
Essential tools include a heavy-bottomed saucepan, heat-resistant spatula, fine-mesh strainer, mixing bowls, food processor or blender, and an airtight storage container. While an ice cream maker is traditional, no-churn methods require only a mixer and freezer-safe container.
Can I make raspberry chocolate chunk ice cream without an ice cream maker?
Absolutely! No-churn raspberry chocolate chunk ice cream methods produce excellent results using whipped cream and sweetened condensed milk as the base. While the texture differs slightly from churned versions, it’s still creamy and delicious.
How do I prevent ice crystals in my homemade ice cream?
Prevent ice crystals by ensuring sufficient fat content, proper sugar balance, minimizing air exposure during storage (use plastic wrap directly on the surface), maintaining constant freezer temperature, and consuming within two weeks of making.
What’s the best chocolate to use for raspberry chocolate chunk ice cream?
High-quality dark chocolate with 70% cocoa content offers the best flavor complexity when paired with raspberries. Choose chocolate you enjoy eating plain, as freezing will mute the flavor slightly.
Can I make vegan raspberry chocolate chunk ice cream?
Yes! Substitute full-fat coconut milk and cashew cream for dairy, use cornstarch instead of eggs for thickening, and ensure your chocolate is dairy-free. Vegan raspberry chocolate chunk ice cream can be just as creamy and flavorful as traditional versions.
How long will homemade raspberry chocolate chunk ice cream stay fresh?
For optimal quality, consume homemade raspberry chocolate chunk ice cream within two weeks. While it remains safe to eat beyond this timeframe, the texture and flavor will gradually deteriorate.
What are some creative ways to serve raspberry chocolate chunk ice cream?
Beyond the classic bowl or cone, try raspberry chocolate chunk ice cream in ice cream sandwiches, as an affogato with hot espresso poured over, in milkshakes, between cake layers, or molded into individual shapes for elegant presentation.
I LOVE IT
I absolutely love Panera Bread’s Chicken Salad! It’s the perfect blend of fresh ingredients and delicious flavors. The chicken is always tender and well-seasoned, and the combination of crisp celery, crunchy pecans, and sweet grapes creates a perfect balance of textures and tastes. The creamy dressing ties everything together beautifully without being too heavy.
Whether I have it on a sandwich, with a side salad, or just by itself, it never disappoints. It’s a great option for a light yet satisfying meal. I highly recommend it to anyone looking for a refreshing and tasty chicken salad.