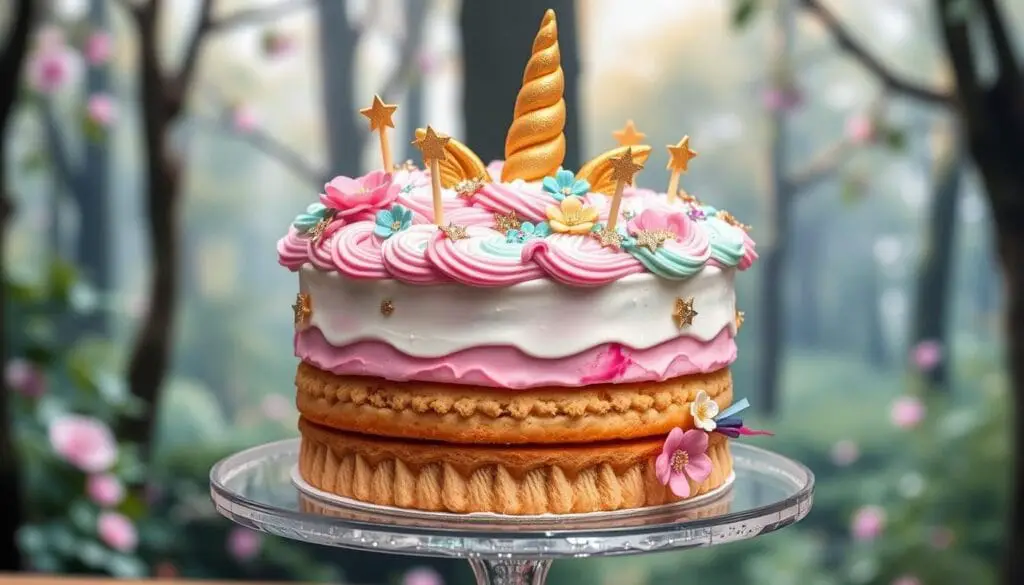
As a mom, I’ve always loved seeing the joy a unicorn cake brings to kids. Their sparkling eyes and laughter are truly magical. I’m excited to share how to make your own unicorn cake at home.
Making a unicorn cake is simpler than you think. You just need a few ingredients, basic tools, and creativity. It’s perfect for birthdays, special occasions, or just for fun. This cake will make everyone smile.

Key Takeaways
- Discover how to create a vibrant, tie-dye rainbow swirl cake for your unicorn masterpiece.
- Learn essential tips and techniques for shaping the unicorn’s features, including the horn, ears, and mane.
- Master the art of unicorn cake frosting and decorating, using a variety of pastel colors and piping methods.
- Explore creative ideas for adding enchanting touches, like edible glitter and other finishing touches.
- Unlock the secrets to troubleshooting common unicorn cake challenges for a flawless final result.
Table of Contents
Essential Ingredients and Tools for Your Unicorn Cake
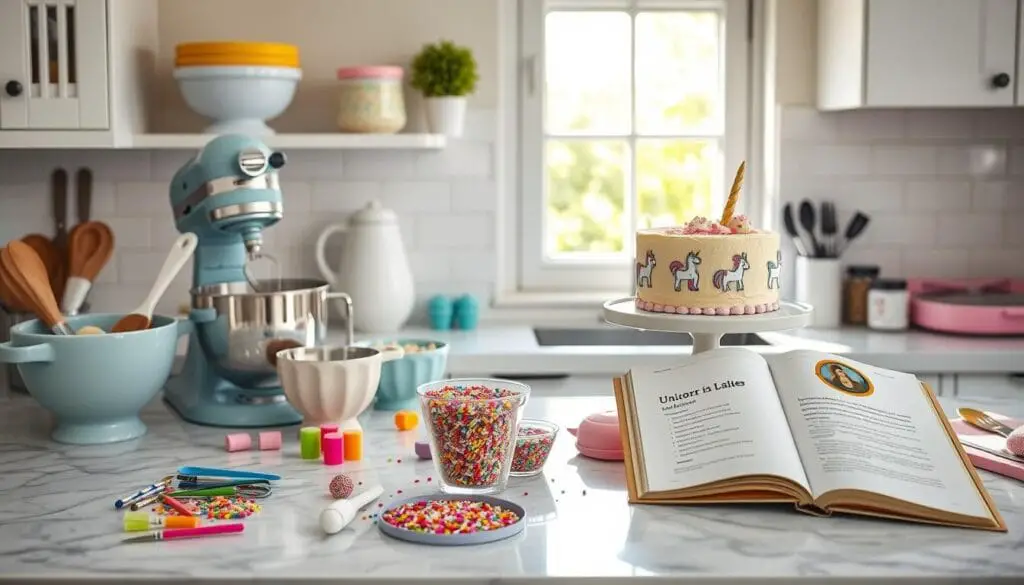
Making a unicorn cake at home needs the right ingredients and tools. You’ll need basic cake ingredients, vibrant food coloring, and special piping tips. Each part is key to making your cake magical.
Basic Cake Ingredients
Your unicorn cake starts with a moist vanilla cake. You’ll need:
- White cake mix
- Eggs
- Oil
- Water
Decorating Tools and Supplies
To make your cake look like a unicorn, you’ll need decorating tools. These include:
- Pastel-colored icing
- White icing
- Black icing
- Offset spatula
- Piping bags
- Star piping tips
Food Coloring Options
Food coloring is key for your cake’s rainbow look. You’ll need:
- Purple
- Blue
- Green
- Yellow
- Orange
- Red
With these unicorn cake ingredients, cake decorating tools, and food coloring options, you’re ready. You’ll make a magical unicorn cake that will wow your guests.
Preparing Your Workspace and Initial Setup
Before starting your unicorn cake adventure, set up your baking area. First, preheat your oven to 350°F. This ensures your cake bakes evenly and perfectly.
Then, collect all needed ingredients and tools. You’ll need cake pans, parchment paper, baking spray, and decorating supplies. Use parchment paper and baking spray in your 9×13-inch pan for easy cake removal.
- Split your cake batter into six bowls for a rainbow inside.
- Get disposable pastry bags for each color. This makes piping batter into the pan easy.
- Prepare a clean, flat area for assembling and decorating your cake. This is where your unicorn cake will come to life.
Your workspace is ready, and you’re set to bake the perfect unicorn cake base. Let the unicorn cake planning begin!

| Item | Quantity | Cost |
|---|---|---|
| Balloons for ceiling | 250 | $1 per balloon |
| Balloon towers and columns | Not specified | N/A |
| Unicorn horn party hats and sparkle wands | Not specified | N/A |
| Unicorn-themed food items | Various | N/A |
| Unicorn-themed drinks | Not specified | N/A |
| Party favor bags contents | Crayons, coloring books, lip gloss, playdough, jewelry | N/A |
| Unicorn-themed party games | Pin the Horn on the Unicorn, Unicorn Piñata, Unicorn Air Walker Balloon Toy, Unicorn Colouring Sheets, Unicorn Ring Toss | N/A |
Baking the Perfect Base for Your Unicorn Cake
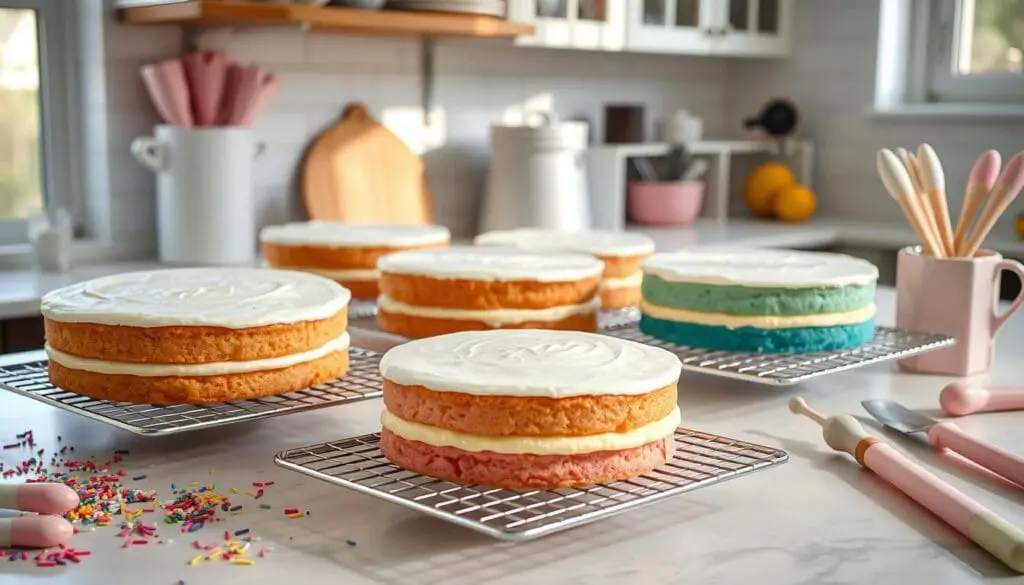
Starting a stunning unicorn cake means baking a perfect base. First, mix your cake batter as the package says. Divide it into six bowls and color each with a different pastel shade.
Mixing the Cake Batter
Pour the colored batters into your pan in rainbow order. Make sure each layer is even and smooth. For a moist crumb, use sour cream instead of water in the recipe.
Baking Temperature and Timing
Bake your cake batter as the package says, usually 30 minutes. Watch the oven closely because the colors can make it bake faster.
Cooling Techniques
After baking, let the unicorn cake baking cool completely before taking it out of the pan. This prevents the layers from crumbling. Cool it on a wire rack for at least an hour.

“The key to a perfect unicorn cake is in the details – from the vibrant batter to the careful cooling process.”
With the right steps, you’ll have a colorful, sturdy base for your unicorn cake. Next, we’ll show you how to make the cake’s rainbow interior truly special.
Creating the Magical Rainbow Interior Effect
Unlock the secret to a captivating unicorn cake: the vibrant, tie-dye rainbow interior. This mesmerizing effect is achieved by carefully layering and piping colored cake batter. It creates a stunning visual surprise when the cake is sliced open.
Start by dividing your cake batter into six separate bowls, one for each color of the rainbow. Begin with a layer of purple batter, followed by blue, green, yellow, orange, and finally, red. Repeat this layering process three times to build up the rainbow effect.
- Prepare the cake batter according to the recipe instructions.
- Divide the batter evenly into six separate bowls.
- Add a few drops of food coloring to each bowl to create the rainbow hues: purple, blue, green, yellow, orange, and red.
- Carefully pipe the colored batters into the prepared cake pans, layering the colors in the desired order.
- Repeat the layering process three times to achieve the vibrant, tie-dye cake interior.
The key to this technique is to work quickly and gently to avoid disturbing the layered colors. Bake the cakes as directed, and when sliced, the result will be a stunning rainbow cake interior that will amaze and delight your guests.
| Ingredient | Quantity |
|---|---|
| Boxed White Cake Mix | 2 |
| Vanilla Buttercream Frosting | Medium and Thin Consistency |
| Gel Food Colors | Purple, Blue, Green, Yellow, Orange, Red |
| Unicorn Cake Topper Kit | 1 |
“The secret to a magical unicorn cake is in the vibrant, tie-dye rainbow interior that takes your breath away when it’s sliced open.”
Shaping Your Unicorn Cake: Step-by-Step Guide
Making a magical unicorn cake at home is a fun journey. The shaping step is key to bringing your dream to life. With a few simple steps, you can turn a basic cake into a whimsical unicorn masterpiece.
Cutting the Basic Shape
Begin by baking a 9×13 inch cake and let it cool completely. After cooling, cut the cake in half lengthwise to get two long rectangles. Take one rectangle and cut it into three equal parts. Use two parts to form the unicorn’s body and head, placing them on a cake board or platter for the right shape.
Forming the Horn and Ears
To make the unicorn’s horn and ears, use the last cake rectangle. Cut a wedge from one side for the horn’s base. Place the horn on the head, and use extra cake to make another horn or ear if you want. Keep adjusting the cake pieces until your unicorn looks just right.
Remember, shaping your unicorn cake is all about experimenting and having fun. Feel free to trim, reshape, and move the cake pieces until you get the perfect unicorn shape. With creativity and detail, you’ll create a stunning, unique unicorn cake that will wow your guests.
Mastering the Art of Unicorn Cake Frosting
Creating a magical unicorn cake starts with frosting mastery. You can aim for a smooth finish or a whimsical texture. The right frosting techniques are crucial for success.
Prepare the Frosting
First, prepare your frosting colors. You’ll need a lot of white buttercream frosting for the cake’s body and head. Use a bit less pink buttercream frosting for the snout and hooves. Aim for 3-4 cups of white frosting and 2/3 to 3/4 cup of pink frosting.
Pipe the Frosting
Start piping white frosting stars with a #21 open star tip. Cover the whole cake, leaving space for pink details. Then, pipe pink stars for the snout and hooves for a fun texture.
Smooth the Frosting
Chill the cake after each frosting layer to get a smooth finish. This helps the frosting set and keeps crumbs out. Use an offset spatula to smooth the frosting for a perfect look.
Mastering unicorn cake frosting takes practice, patience, and attention to detail. With the right techniques and creativity, your cake will become a magical masterpiece.
Decorating Techniques for the Mane and Tail
Creating a captivating unicorn cake is all about the intricate details. The mane and tail are the crown jewels of your magical creation. To achieve this enchanting look, you’ll need to master the art of color combinations and piping techniques.
Color Combinations
The mane and tail of your unicorn cake should be a stunning display of rainbow hues. Start by rolling out 1-ounce logs of vibrant colors like purple, blue, green, yellow, orange, and red modeling chocolate or fondant. Flatten and combine these logs into curved shapes, mimicking the flowing movements of a unicorn’s mane and tail. For a natural, wispy look, don’t forget to cut the ends with a sharp knife.
Alternatively, you can use colorful mini marshmallows to create a fluffy, whimsical mane effect. Carefully arrange the marshmallows in a cascading pattern, blending the colors seamlessly to achieve that magical, cloud-like appearance.
Piping Techniques
Mastering piping techniques is essential for bringing your unicorn’s mane and tail to life. Utilize Wilton piping tips, such as the 2D or 1M, to create lush, swirling patterns. Experiment with various tip sizes, from the larger 2D and 1M to the smaller 17, 225, 18, and 30, to achieve the desired level of detail and texture.
With a steady hand and a keen eye for design, you can pipe intricate curls, waves, and swirls onto your unicorn cake. Don’t be afraid to play with different icing colors, such as black, red, violet, and kelly green, to add depth and dimension to your masterpiece.
“The mane and tail are the heart and soul of a unicorn cake. With the right color combinations and piping techniques, you can create a truly magical, one-of-a-kind dessert.”
Adding Facial Features and Expression
To make your unicorn cake come alive, focus on its whimsical face. Use black modeling chocolate or fondant for eyelashes and an eye shape. Add a rosy pink circle for cheeks to give it a blushing look. Finish with a curved mouth and nose using black icing.
For a simple yet cute look, pipe a closed eye with black buttercream and eyelashes. Attach the ears and horn with frosting. These details will make your unicorn cake look friendly and inviting.
Creating a unicorn cake face that stands out is all about the details. Try different edible cake decorations and methods. This will help you get the perfect cake character features that make your cake magical.
Creative Ideas for Unicorn Cake Embellishments
As you bake and assemble your enchanting unicorn cake, the true magic lies in the captivating embellishments. These bring the design to life. From edible glitter to whimsical finishing touches, these ideas will make your unicorn cake truly enchanting.
Edible Glitter Options
Sprinkle your unicorn cake with a touch of stardust by using edible glitter. This adds sparkle and shimmer to the unicorn’s mane, tail, and horn. Try different glitter colors like iridescent, silver, or gold for a mesmerizing effect.
Finishing Touches
Elevate your unicorn cake with delightful finishing touches. Dust the horn and ears with edible gold luster dust for a shiny look. Use a fan brush to apply it evenly. Sprinkle vibrant sprinkles or edible pearls for color and texture, making the cake playful and whimsical.
The key to a magical unicorn cake is in the details. By adding these enchanting embellishments, you’ll turn your cake into a captivating centerpiece. It will leave your guests in awe.
Troubleshooting Common Unicorn Cake Challenges
Making a unicorn cake is fun, but it comes with its own set of problems. You might struggle with getting the right moist texture or mastering the decorations. Let’s look at some common issues and how to fix them, so your baking journey is as magical as the cake itself.
Moist and Flavorful Cake
If your cake is dry, try adding 1/4 cup of sour cream to the recipe instead of water. This trick can make your cake moist and soft. Also, watch your baking time and temperature to avoid overcooking.
Frosting Woes
Having soft frosting while decorating? Chill the cake between each frosting layer. This helps the frosting set, making your layers smooth and even. It prevents the frosting from melting all over.
Modeling Chocolate Troubles
Modeling chocolate is great for unicorn horns and ears, but it can get sticky. To keep it from sticking, don’t refrigerate the cake. Store it at room temperature to keep the chocolate details intact.
Serving with Precision
When it’s time to cut your cake, use a sharp, serrated knife. Dip it in hot water first. This makes your cuts clean and even, so your cake looks perfect inside and out.
With these tips, you’re ready to tackle the usual cake decorating tips, unicorn cake problems, and baking troubleshooting. Remember, learning is part of the fun. Don’t be afraid to try new things – the result will be amazing!
Conclusion
Making a unicorn birthday cake is a fun and rewarding task. It lets you show off your baking and artistic skills. This magical treat is great for any special day, like birthdays or parties, and brings happiness to everyone who sees it.
The unicorn cake is a big hit in the baking world. It’s loved by dessert fans everywhere because of its bright colors, cool design, and tasty flavors. It’s not just a trend; it’s a sign of joy, happiness, and creativity in baking.
You can make your unicorn cake simple or fancy. Social media sites like Instagram and Pinterest are full of ideas. They let you see amazing cakes from around the world and inspire your own creations. So, be creative, let your imagination run wild, and make your unicorn cake a magical centerpiece that will wow everyone.

How to Make a Magical Unicorn Cake at Home
Ingredients
Cake Layers:
- 2 1/2 cups all-purpose flour
- 2 1/2 tsp baking powder
- 1/2 tsp salt
- 1 cup unsalted butter softened
- 2 cups granulated sugar
- 4 large eggs
- 1 tbsp vanilla extract
- 1 cup whole milk
- Gel food coloring pink, blue, purple, yellow
Buttercream Frosting:
- 1 1/2 cups unsalted butter softened
- 6 cups powdered sugar
- 1/4 cup heavy cream
- 1 tbsp vanilla extract
- Gel food coloring for rainbow swirls
Decorations:
- Edible gold dust or sprinkles
- Unicorn horn and ear cake toppers
- Piping bags with star tips
Instructions
Prepare Cake Layers:
- Preheat oven to 350°F (175°C). Grease and flour three 8-inch round cake pans.
- In a bowl, whisk together flour, baking powder, and salt. Set aside.
- In a large bowl, cream butter and sugar until fluffy. Beat in eggs one at a time, then mix in vanilla.
- Alternate adding the dry ingredients and milk, starting and ending with the dry. Mix until smooth.
- Divide batter evenly into 4 bowls. Tint each portion with gel food coloring. Pour into prepared pans and bake for 25–30 minutes. Cool completely.
Make the Frosting:
- Beat butter until creamy. Gradually add powdered sugar, heavy cream, and vanilla. Beat until light and fluffy.
- Divide frosting into separate bowls and tint with desired colors for decorating.
Assemble the Cake:
- Stack the cooled layers with frosting between each. Smooth a crumb coat over the entire cake and refrigerate for 30 minutes.
- Add a smooth layer of frosting and use piping bags to create colorful swirls and designs.
Decorate:
- Place the unicorn horn and ear toppers. Add sprinkles, edible glitter, and any additional designs to bring your unicorn to life.
Notes
- Customization: Use any flavor for the cake layers, such as chocolate or funfetti.
- Make Ahead: Bake cake layers 1 day ahead and refrigerate tightly wrapped.
- Tips for Success: Chill the frosting for 10 minutes if it gets too soft while decorating.
Nutrition
FAQ
What are the basic ingredients needed to make a unicorn cake?
To make the cake, you need a white cake mix, eggs, oil, and water. For decorating, use pastel-colored icing, white icing, black icing, and food coloring.
What tools and supplies are required to decorate a unicorn cake?
You’ll need an offset spatula, piping bags, and star tips. Also, a 9×13-inch baking pan, parchment paper, and a serrated knife. A large white cardboard cake board, teardrop and round cookie cutters, a fondant roller, edible gold luster dust, and a fan brush are essential.
How do you create the colorful rainbow interior of the unicorn cake?
Divide the cake batter into six bowls. Color each with different food coloring. Pipe the colored batters in layers into the pan, repeating three times.
What techniques are used to shape the unicorn cake?
Cut the 9×13-inch cake in half. Use two rectangles for the body and head. Cut a wedge for the ear and horn. Arrange the pieces on a large cardboard cake board to shape the unicorn.
How do you decorate the unicorn cake with frosting?
Use a #21 open star tip to pipe white frosting stars. Leave space for the pink snout and hooves. Pipe pink stars for the hooves and snout. Chill the cake for smooth frosting.
What techniques are used to create the mane and tail of the unicorn cake?
Use modeling chocolate or fondant in rainbow colors for the mane and tail. Roll out logs, flatten, and shape them. Alternatively, use colorful mini marshmallows for a fluffy mane.
How do you add the unicorn’s facial features?
Use black modeling chocolate or fondant for eyelashes and a thin half-moon eye. Add a small pink circle for blushing cheeks. Use black icing for a mouth and nose. Attach the ear and horn with frosting.
What are some ideas for embellishing the unicorn cake?
Apply edible gold luster dust to the horn for sparkle. Add edible glitter to the mane and tail. Use colorful sprinkles or edible pearls for extra texture and whimsy.
How can you troubleshoot common issues when making a unicorn cake?
Chill the cake between decorating steps to prevent soft frosting. Avoid refrigerating the decorated cake to prevent sticky modeling chocolate. Use a sharp knife dipped in hot water for clean cuts.
Source Links
- https://www.katiejdesignandevents.com.au/blogs/parties-by-katie-j/ultimate-unicorn-party?srsltid=AfmBOopXi66Mty8SNzmf1BFPwrcE9OGdoOhEv-UO5v4Wv7FS01D9MNh9 – A Step-by-Step Guide to Hosting the Ultimate Unicorn Themed Party

1 thought on “How to Make a Magical Unicorn Cake at Home”
Comments are closed.